Frequently Bought Together
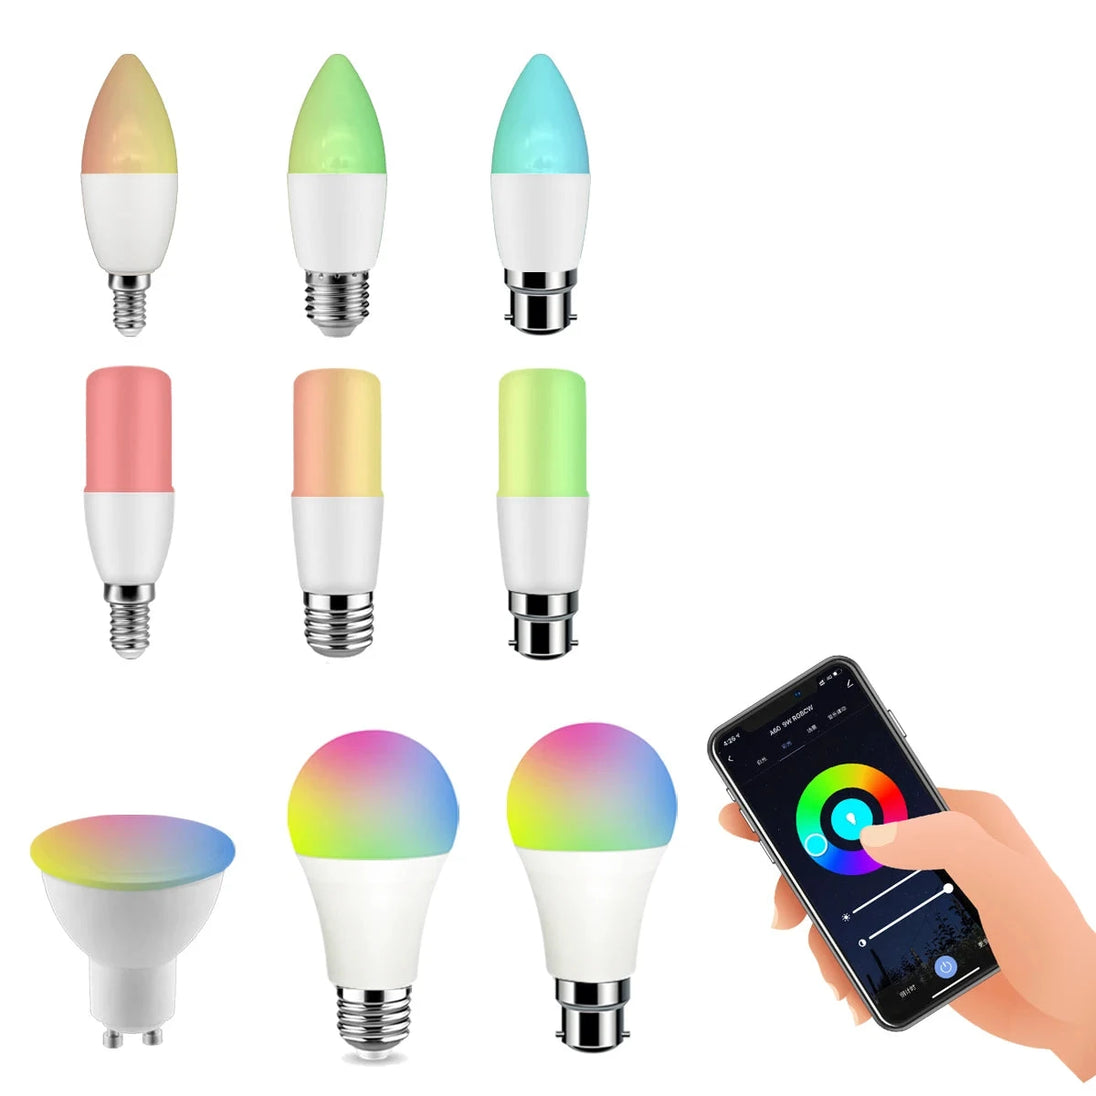
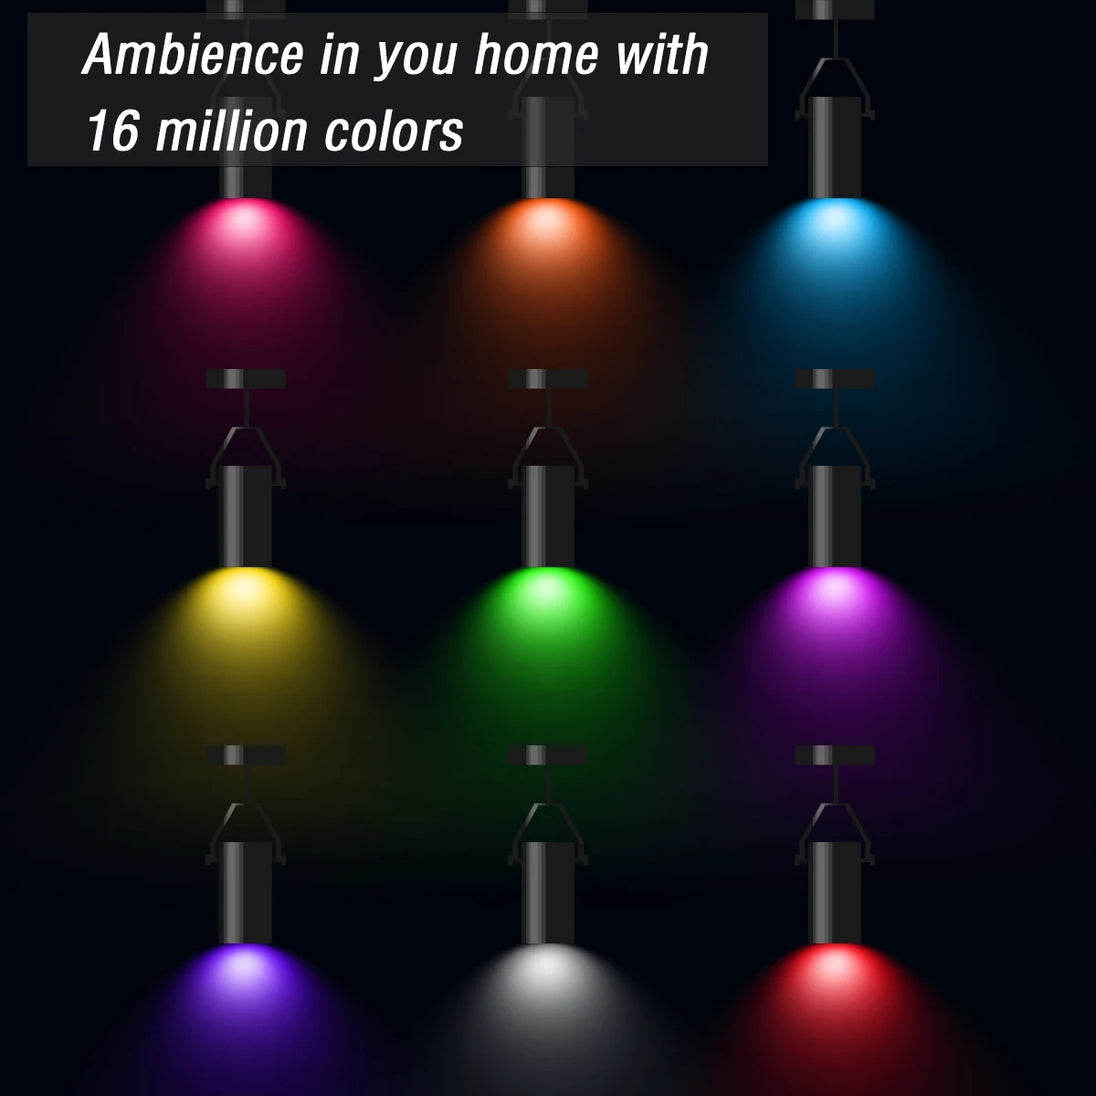
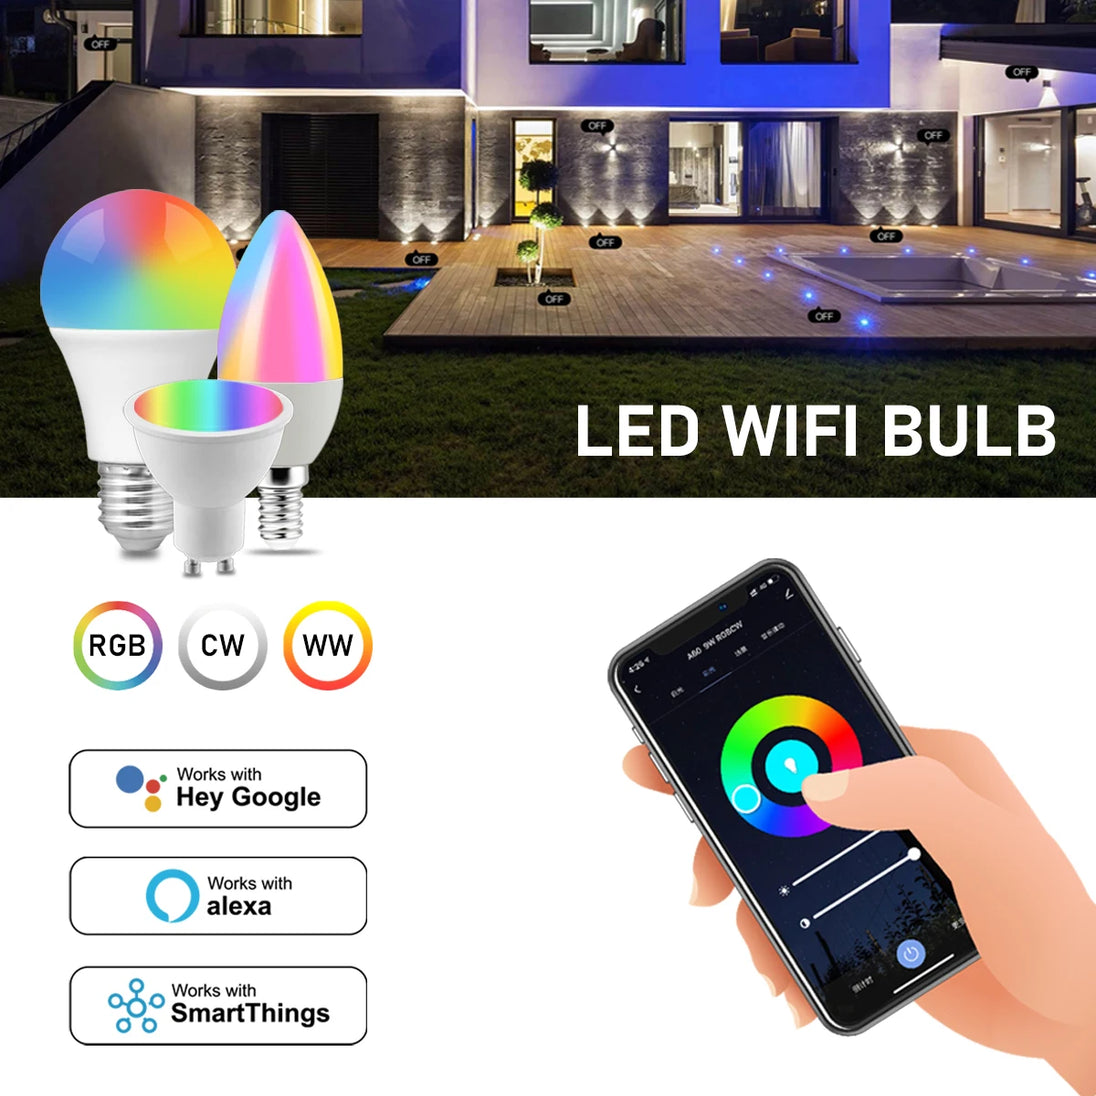
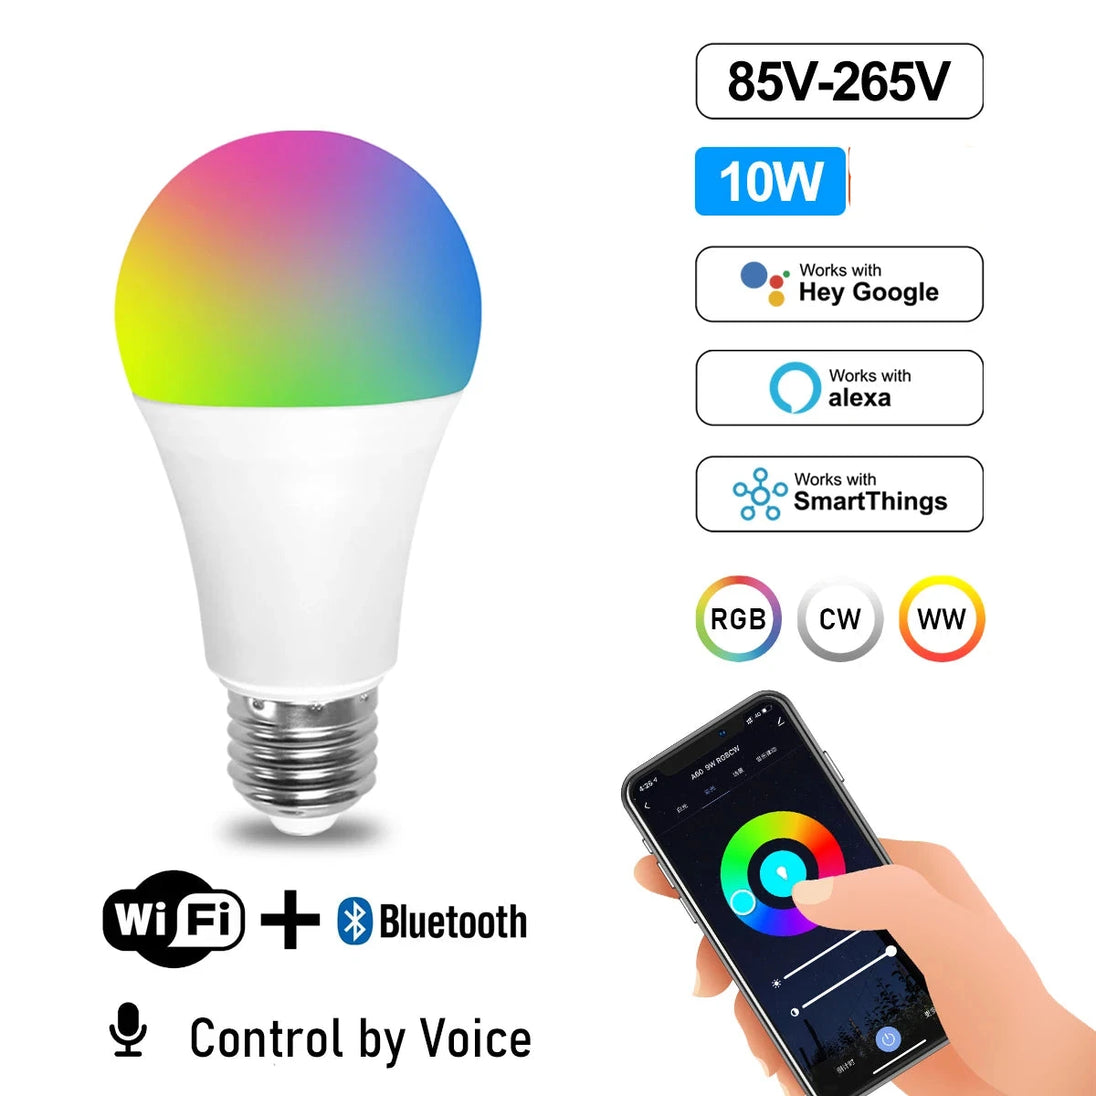
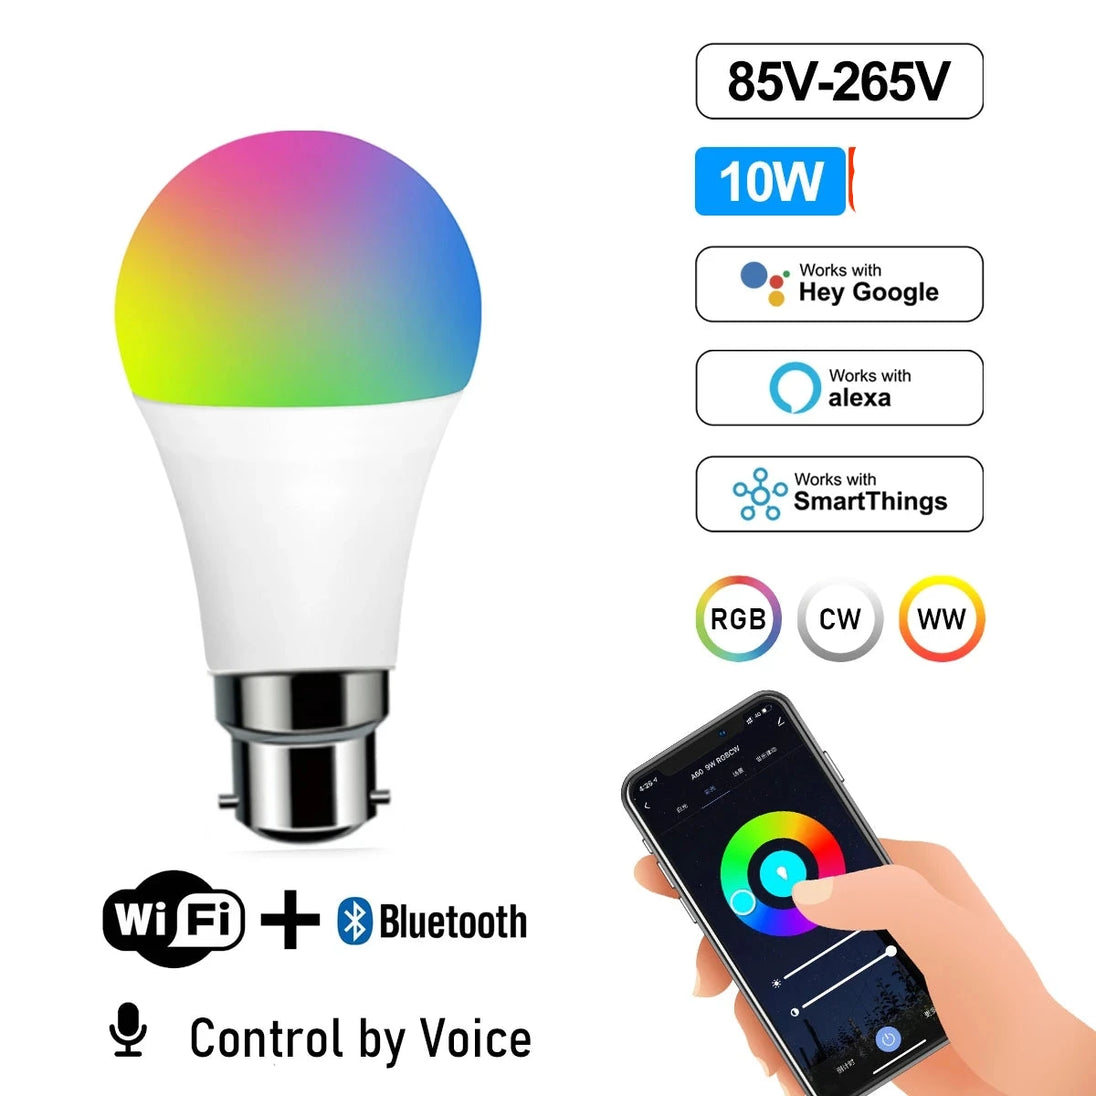
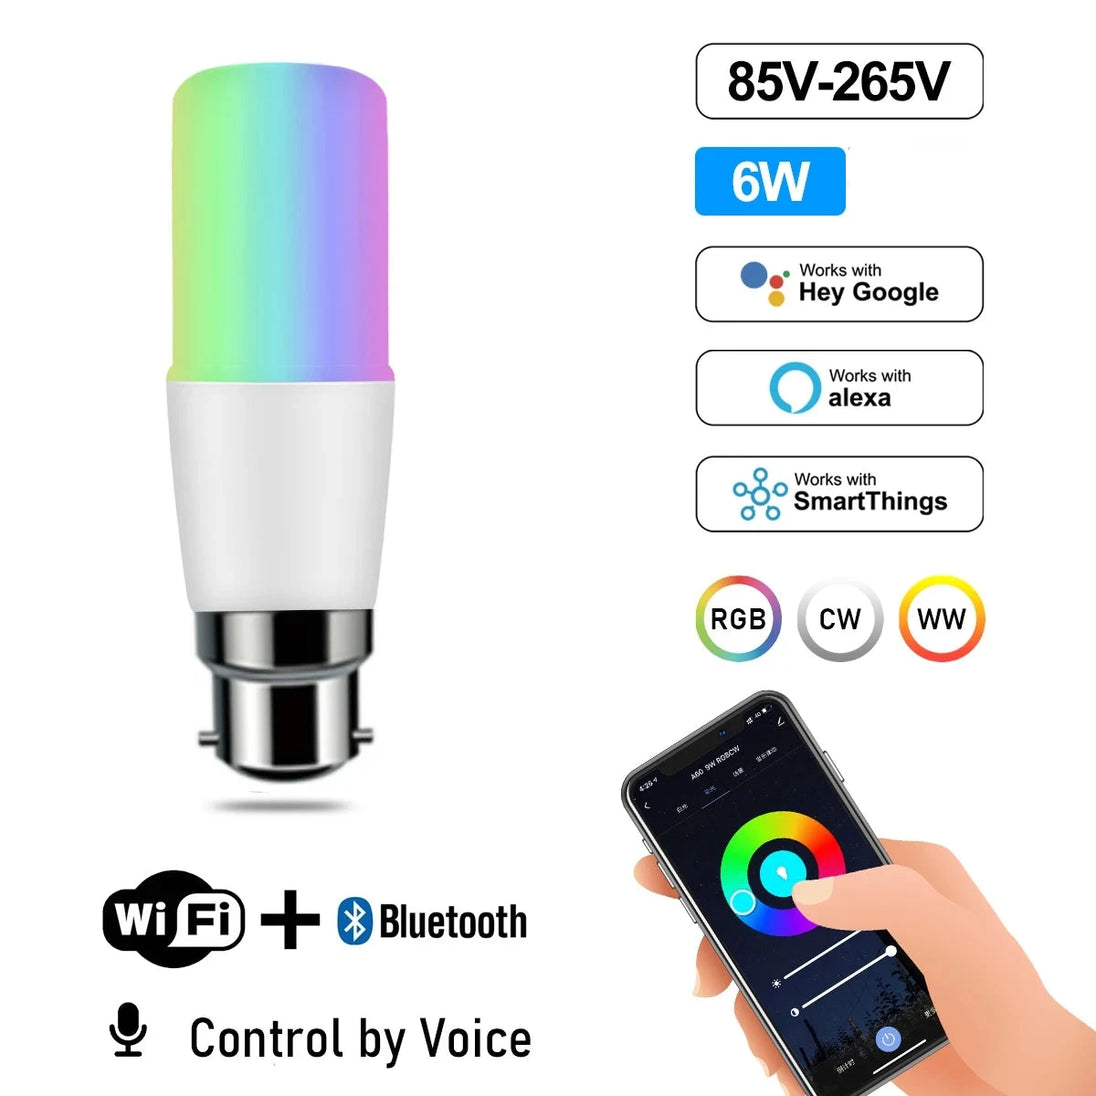
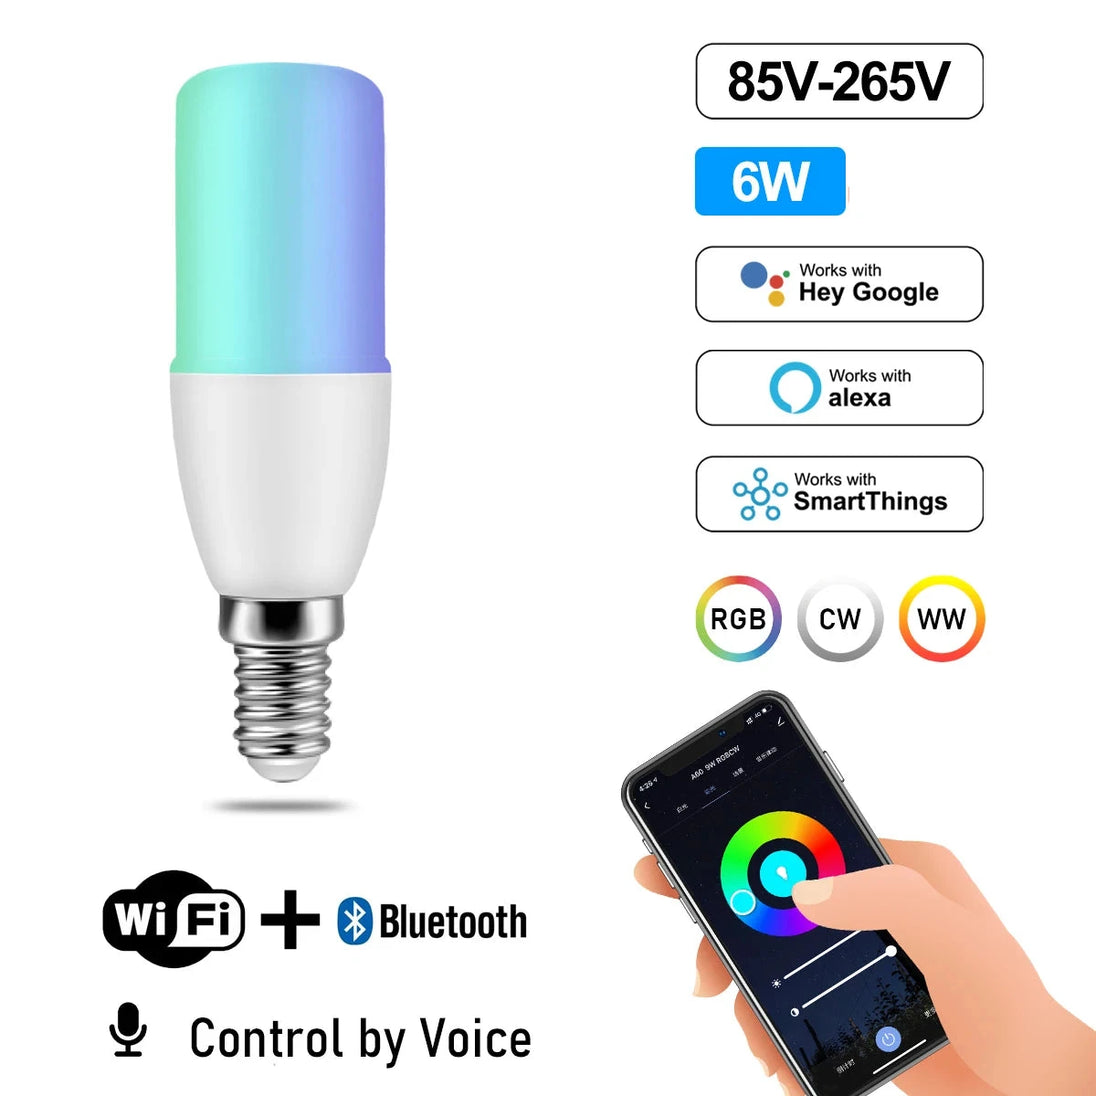
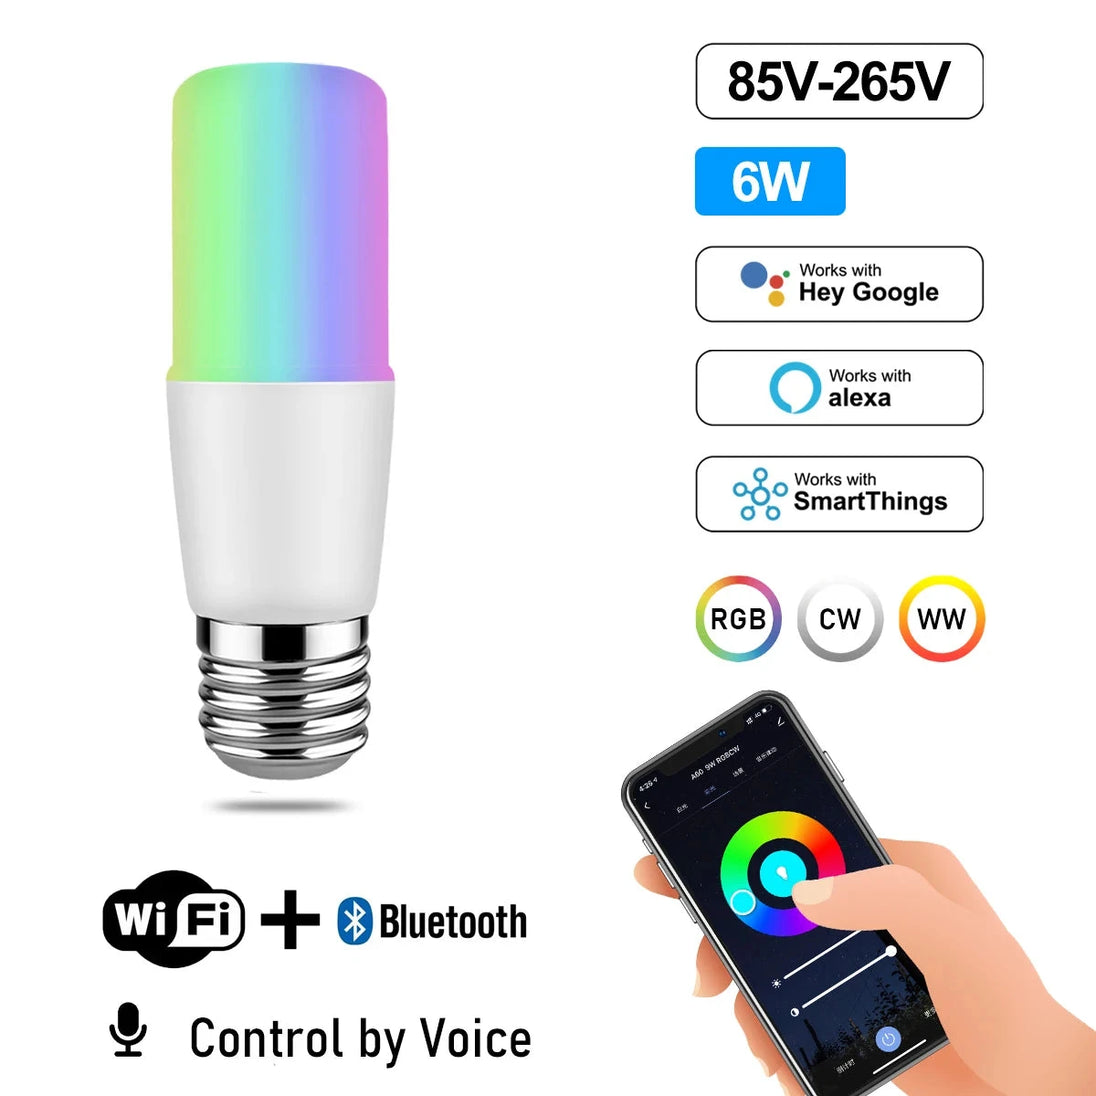
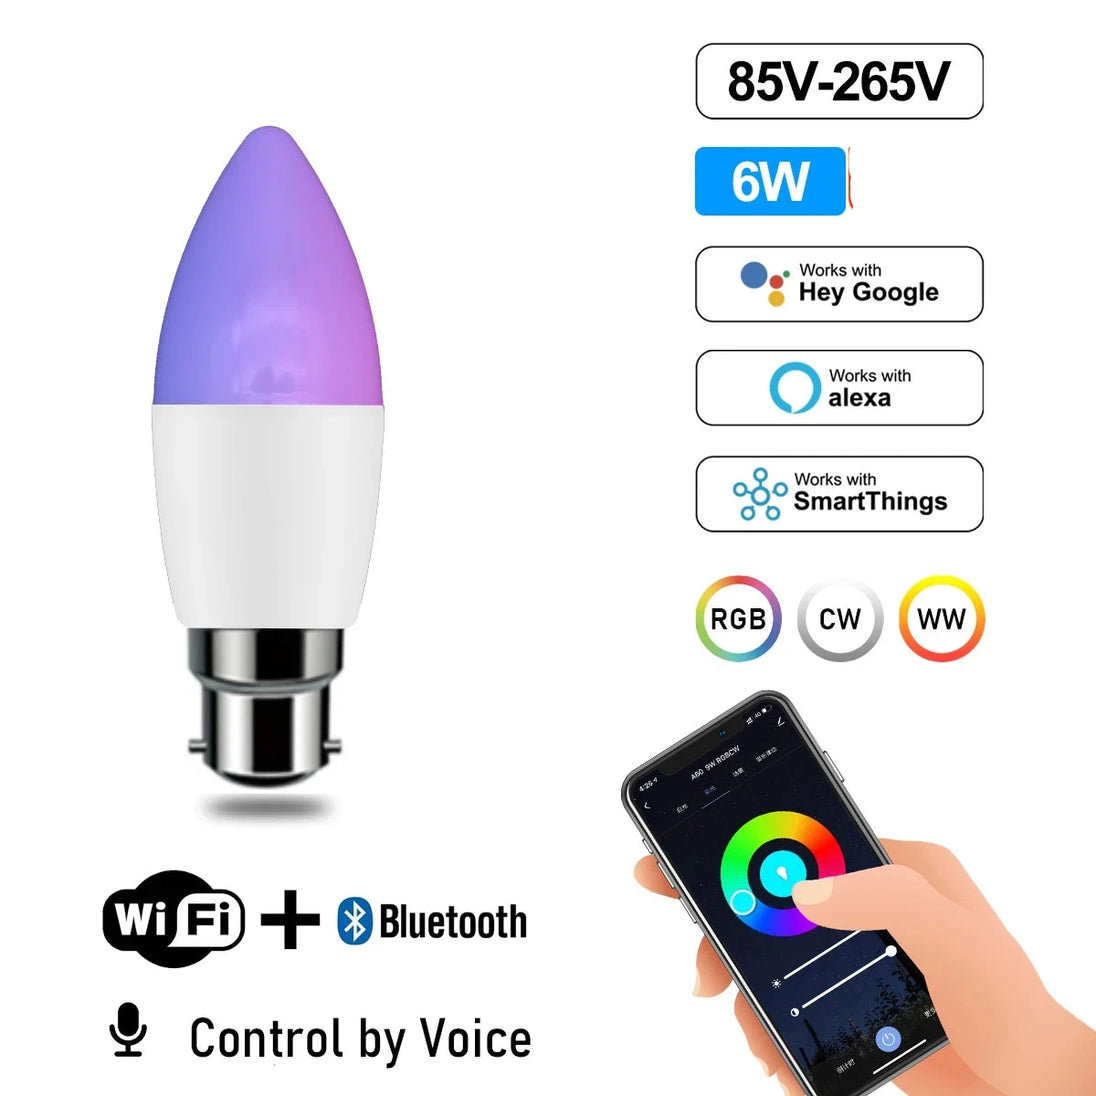
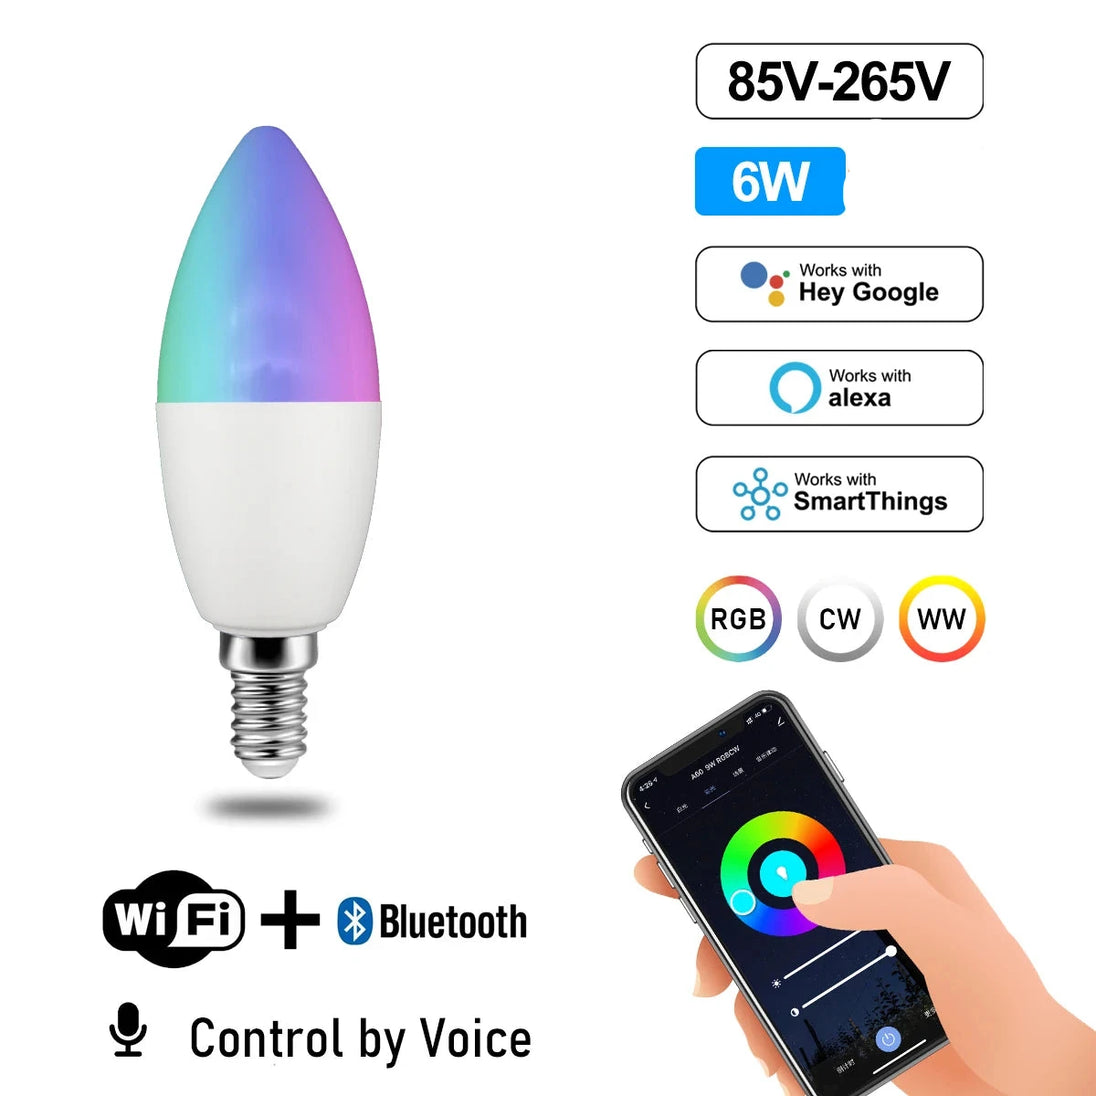
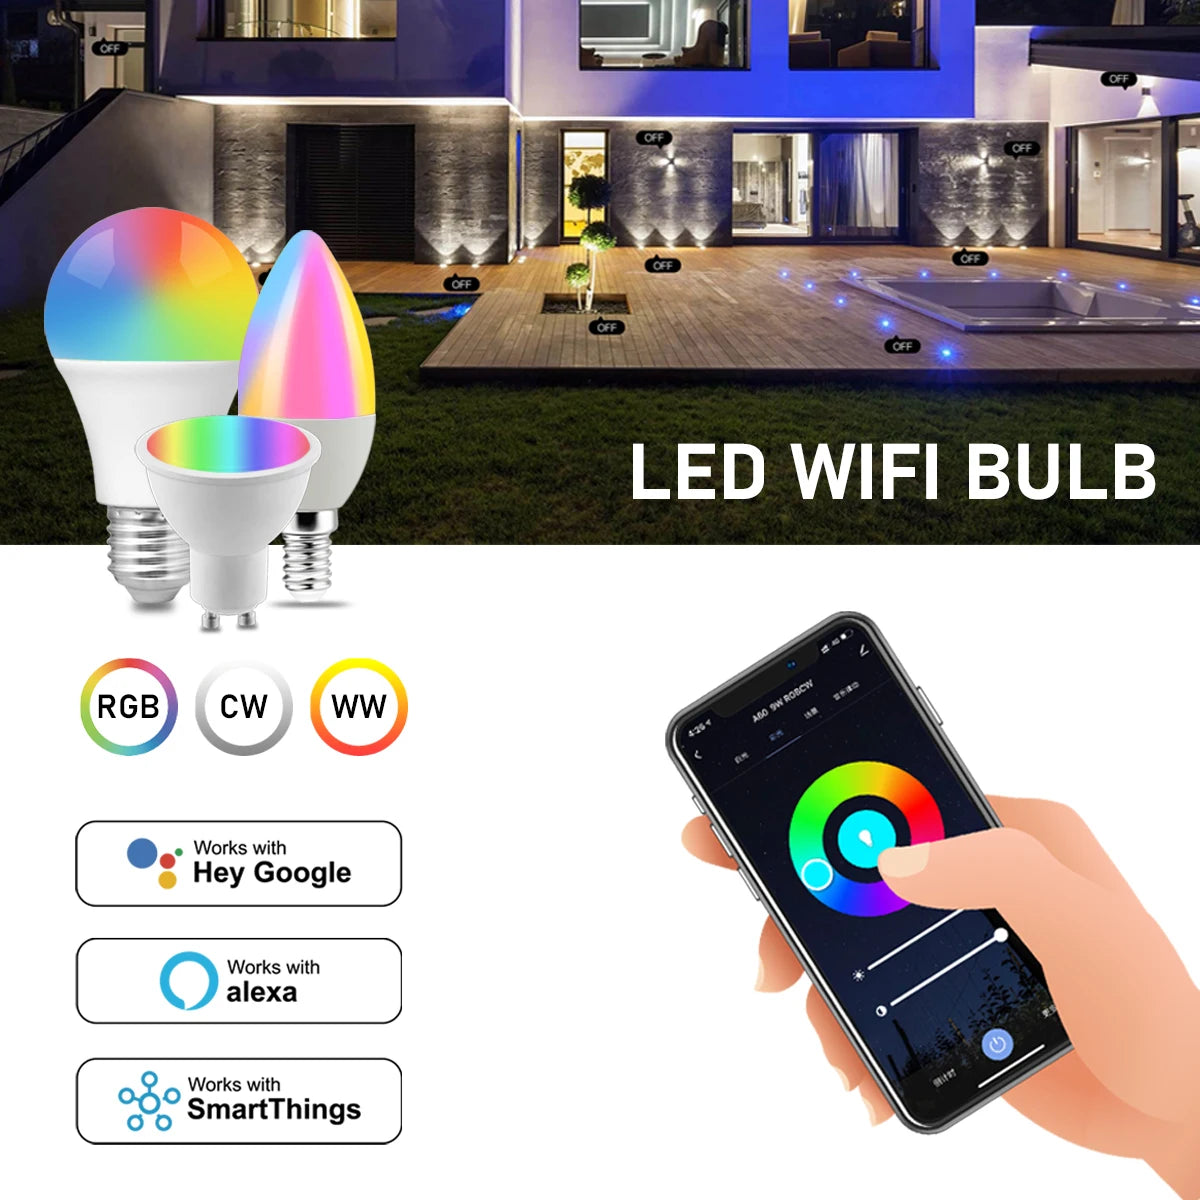
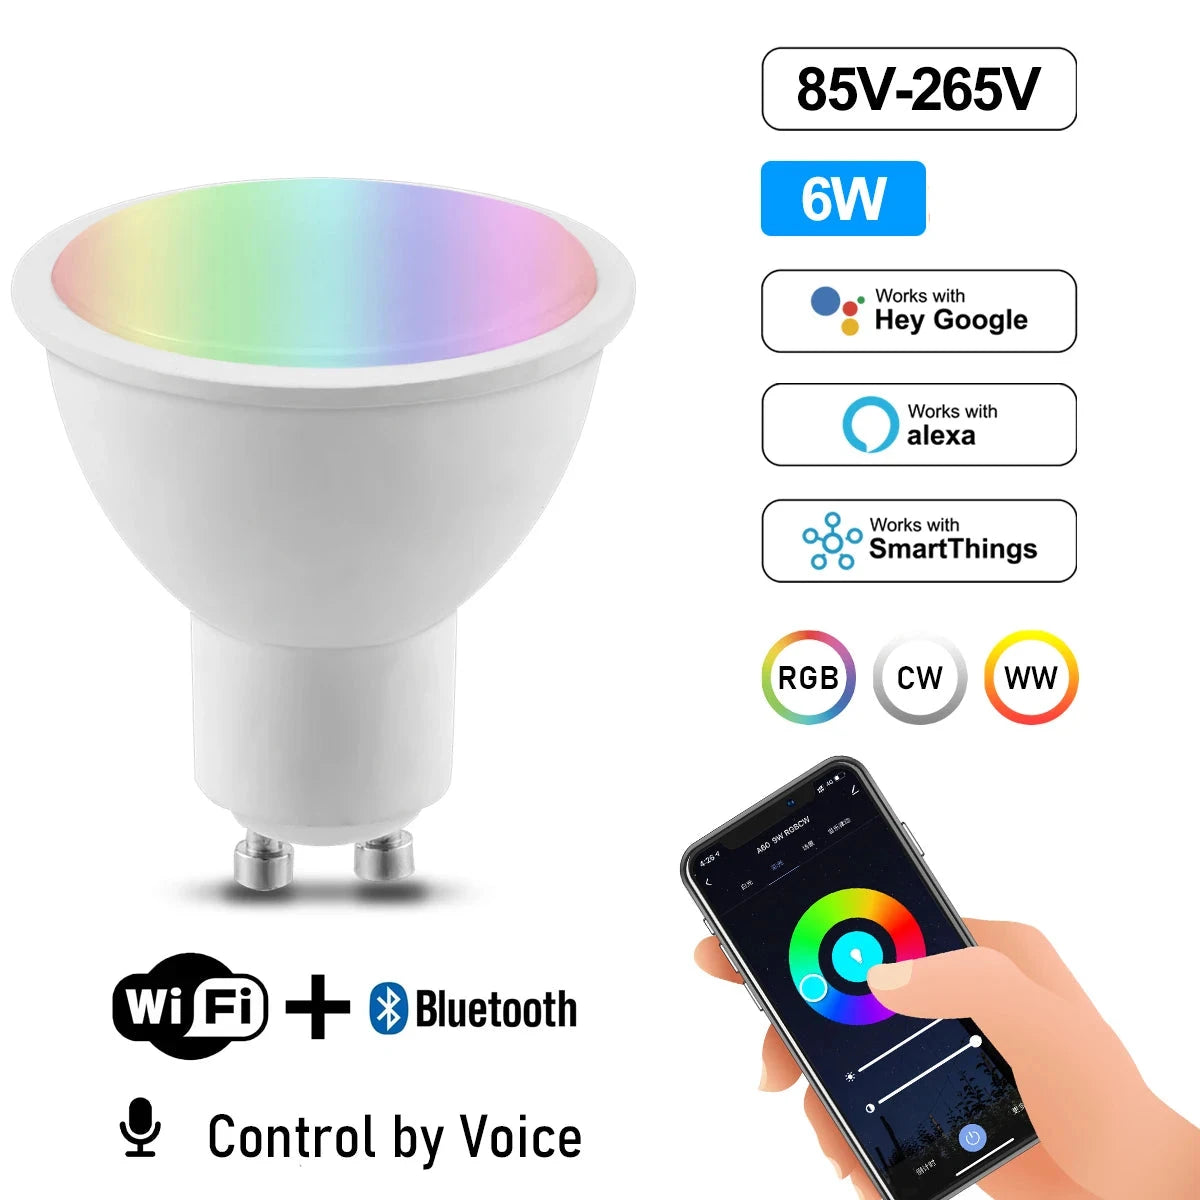
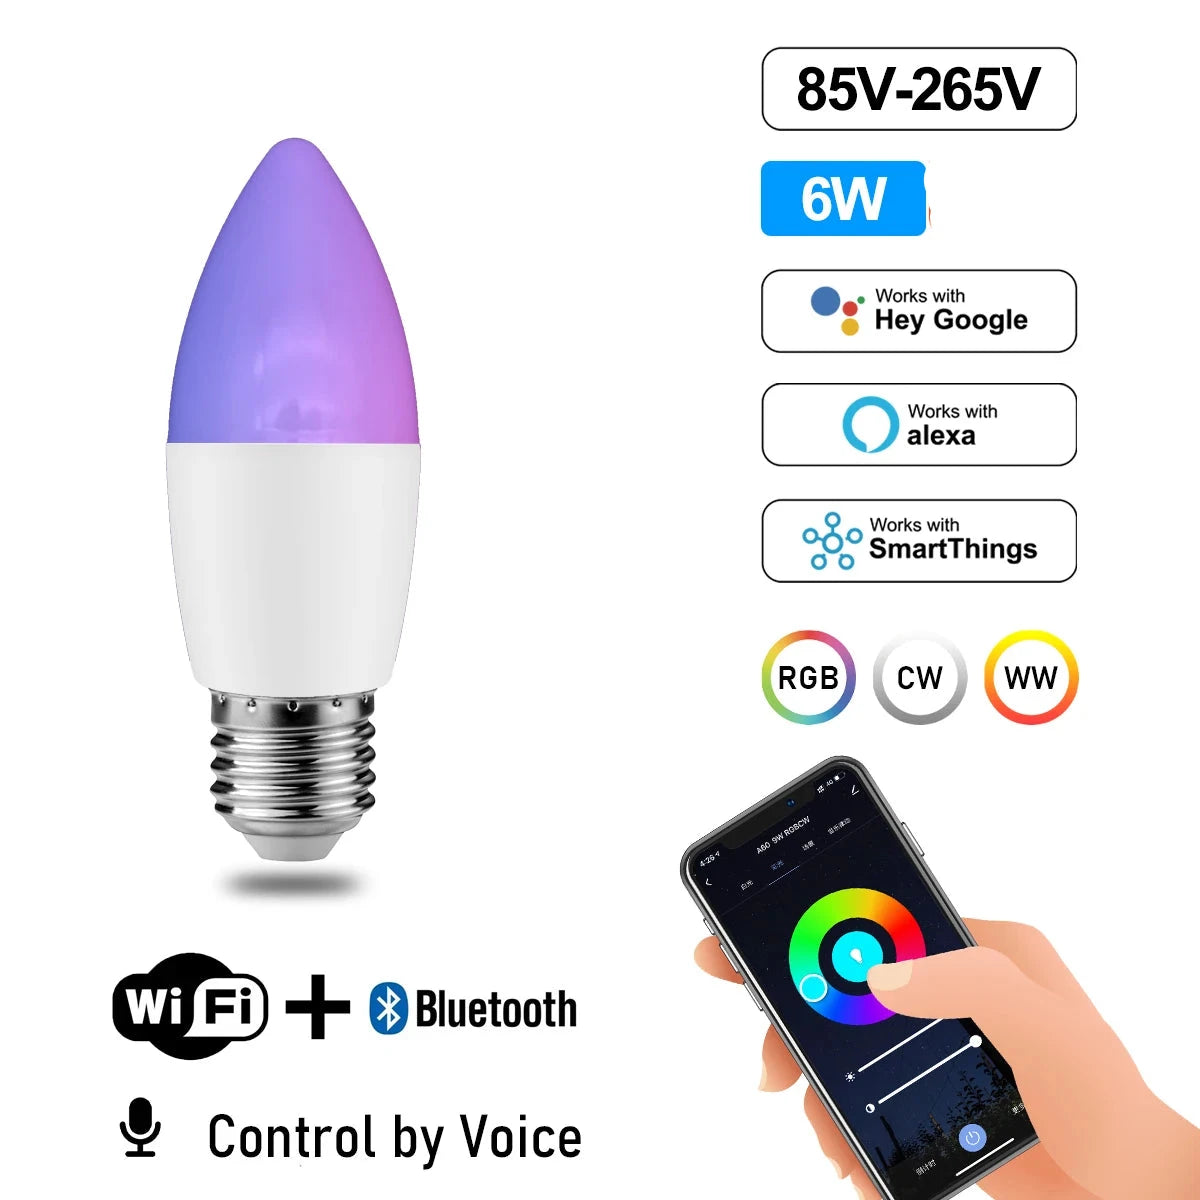
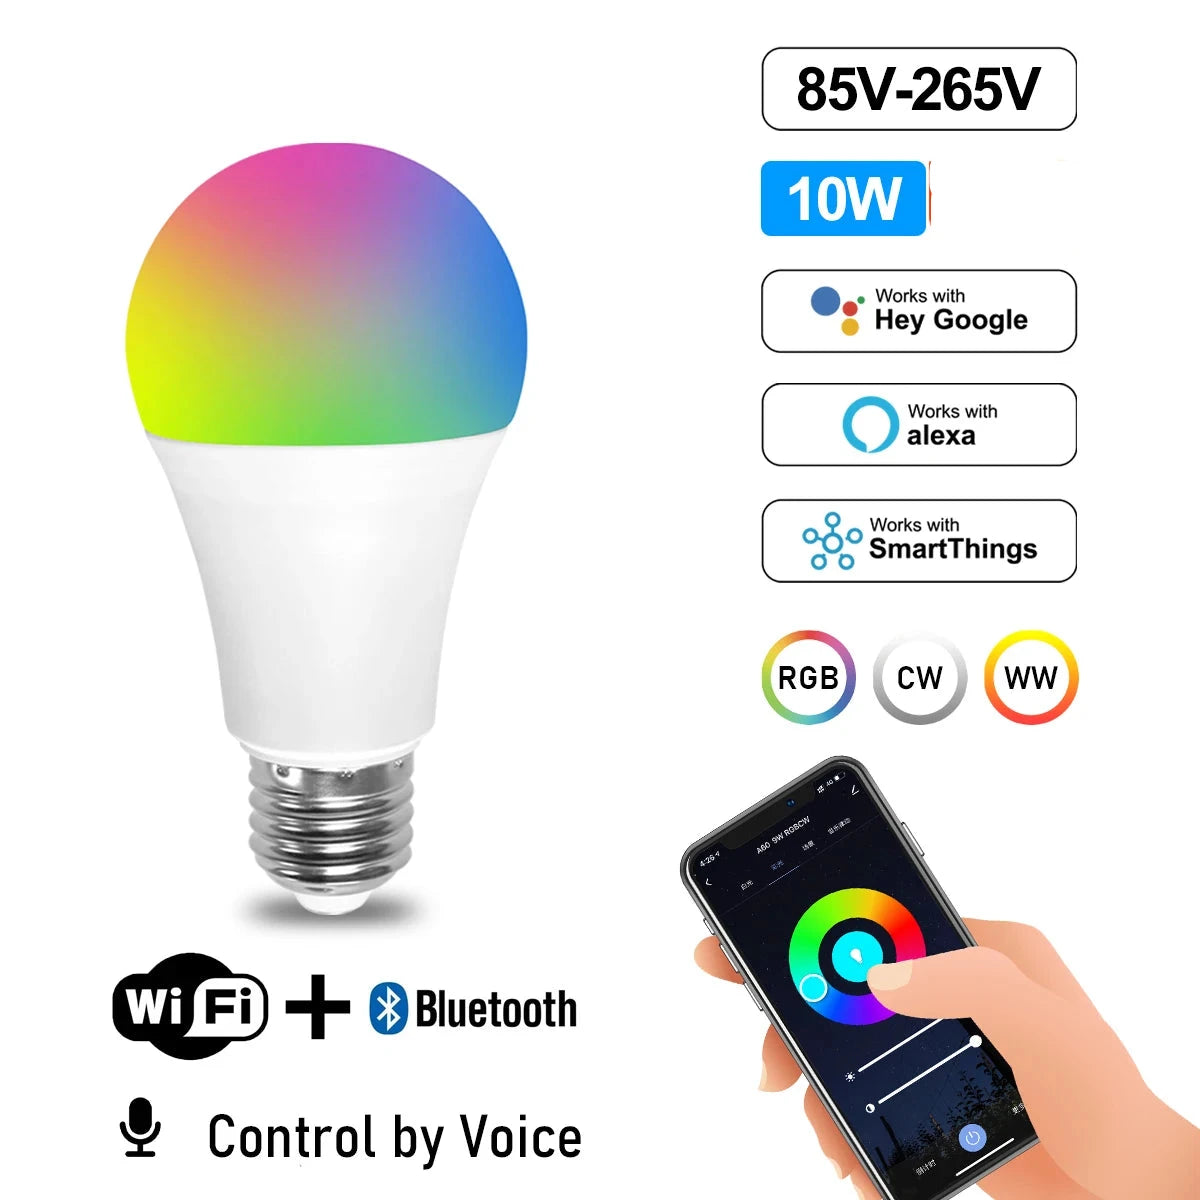
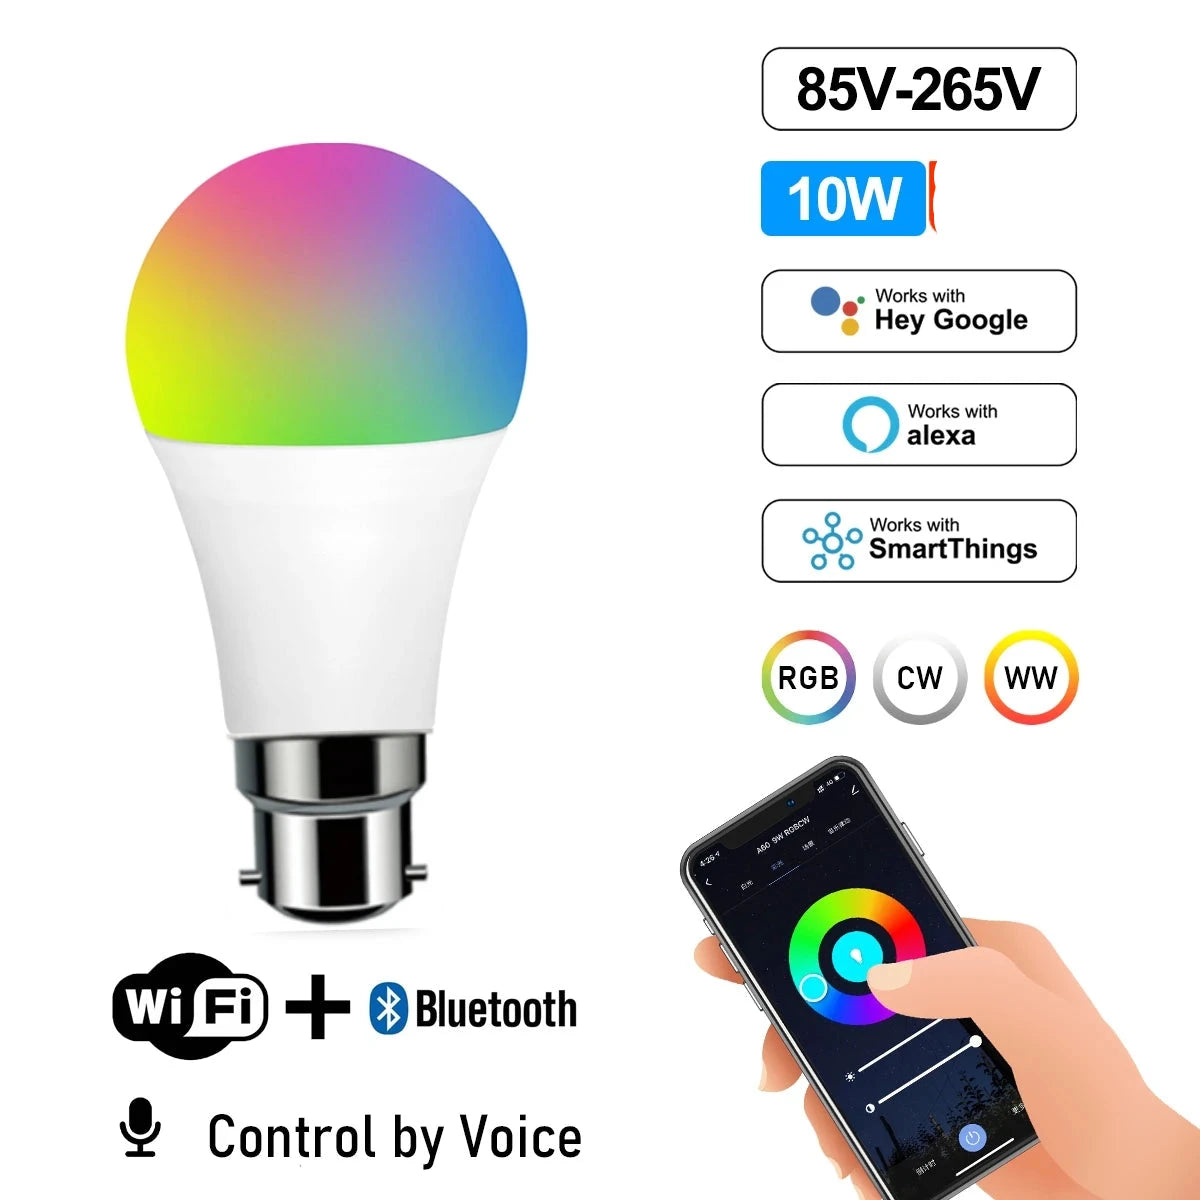
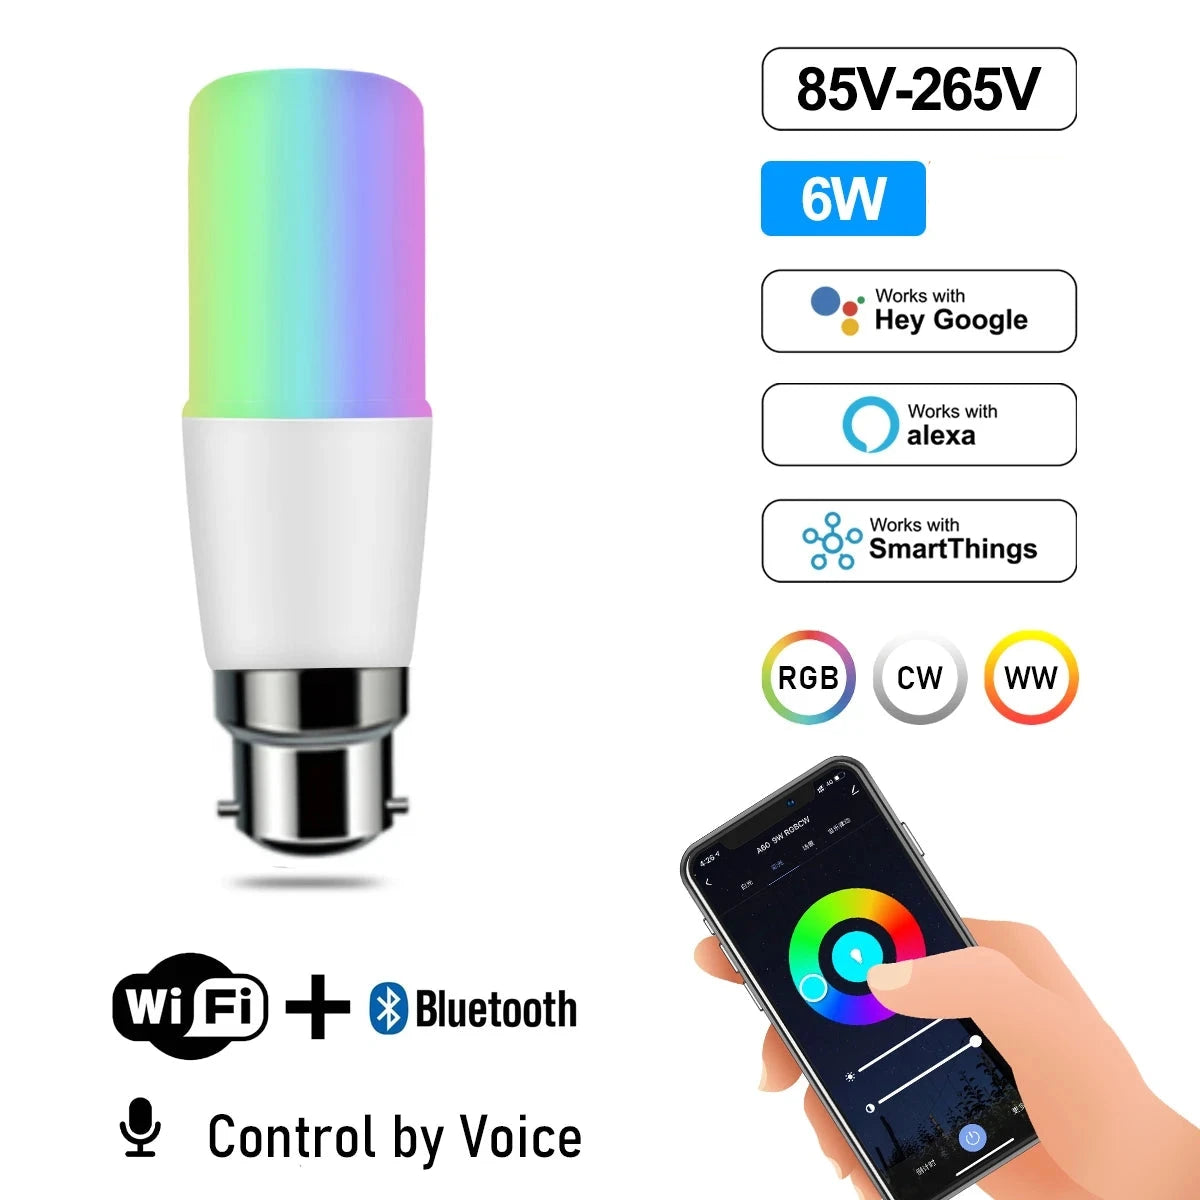
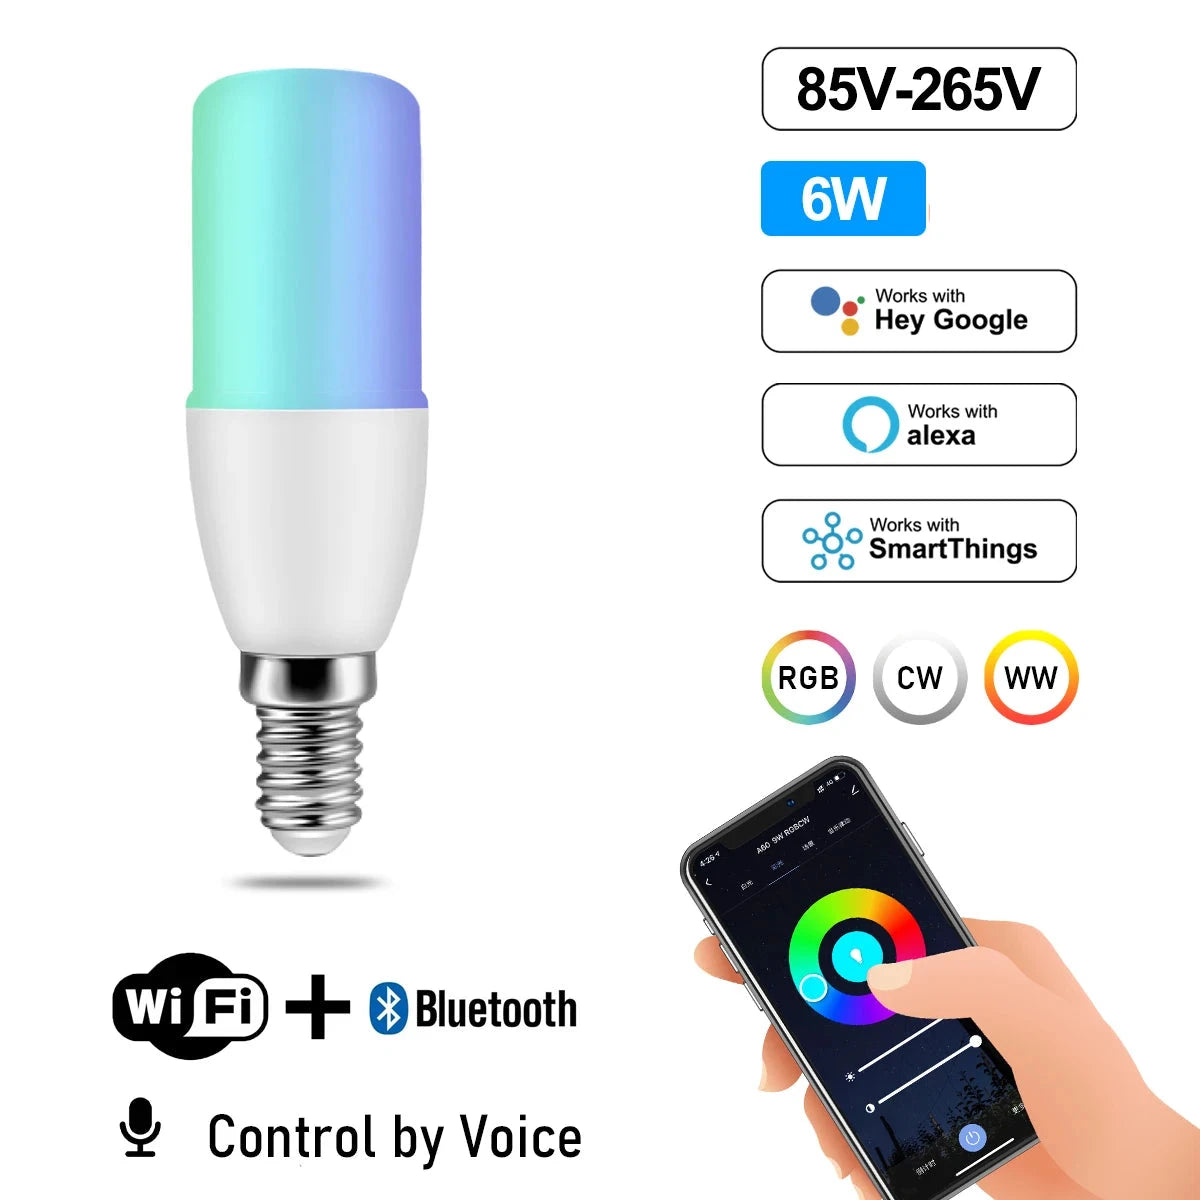
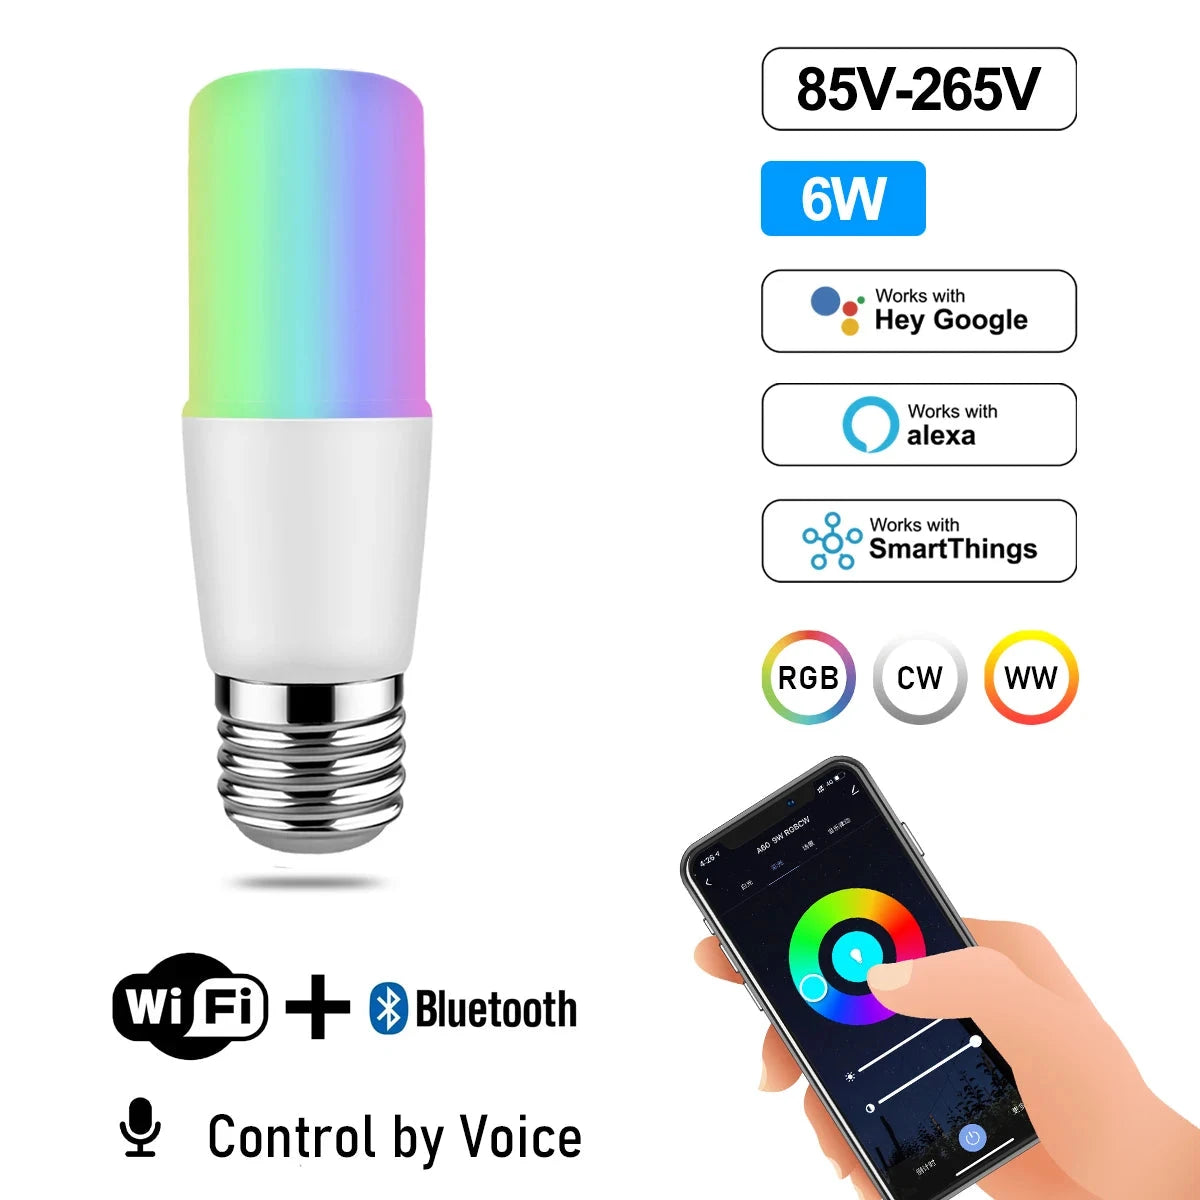
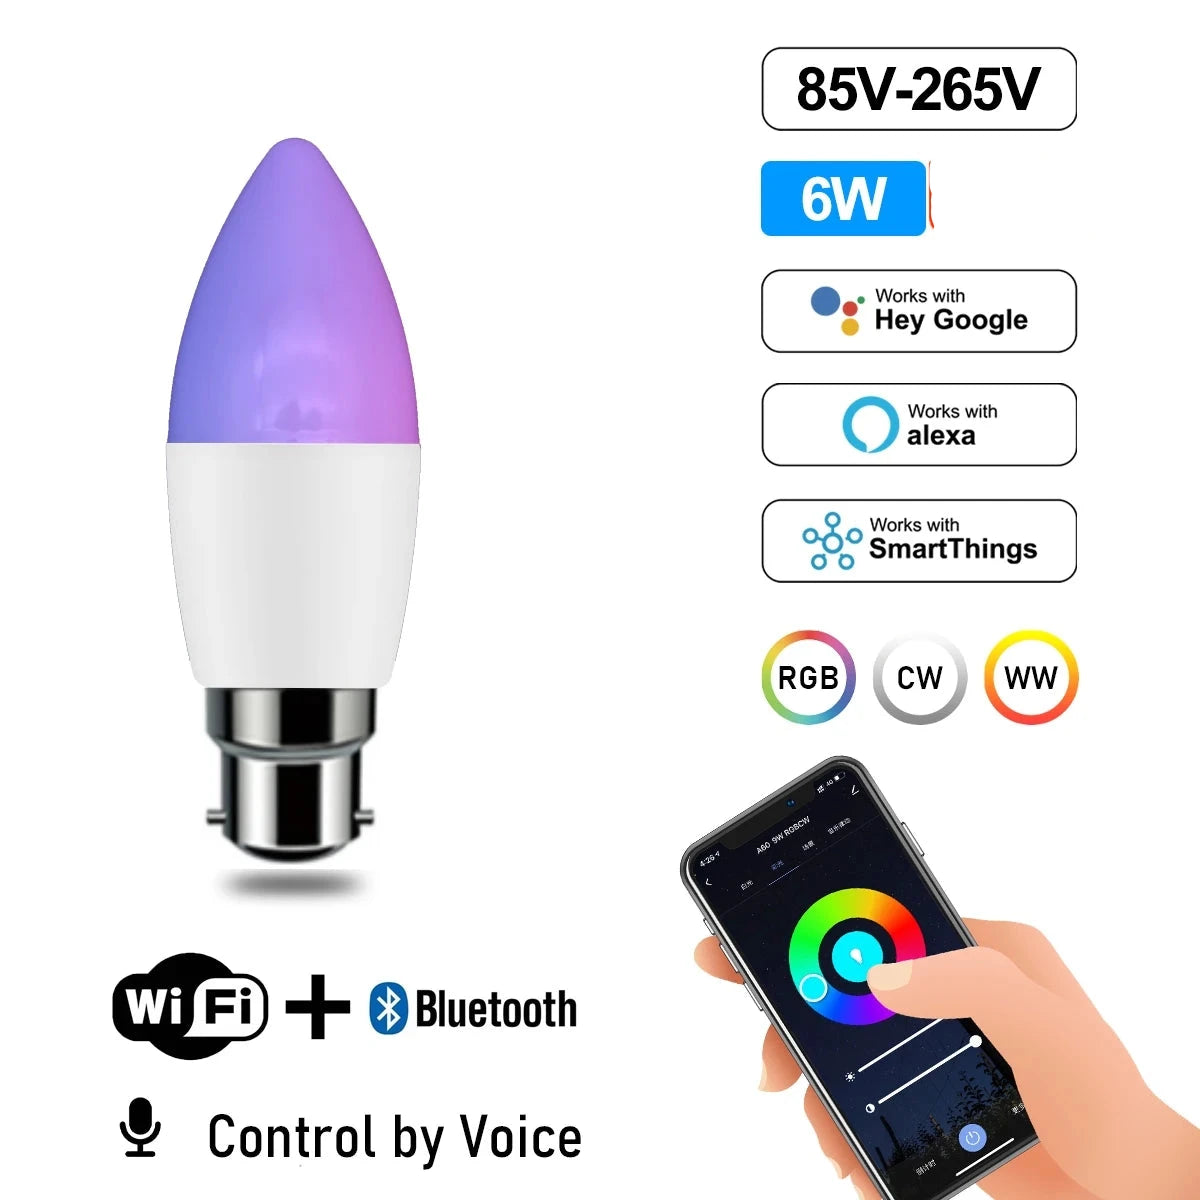
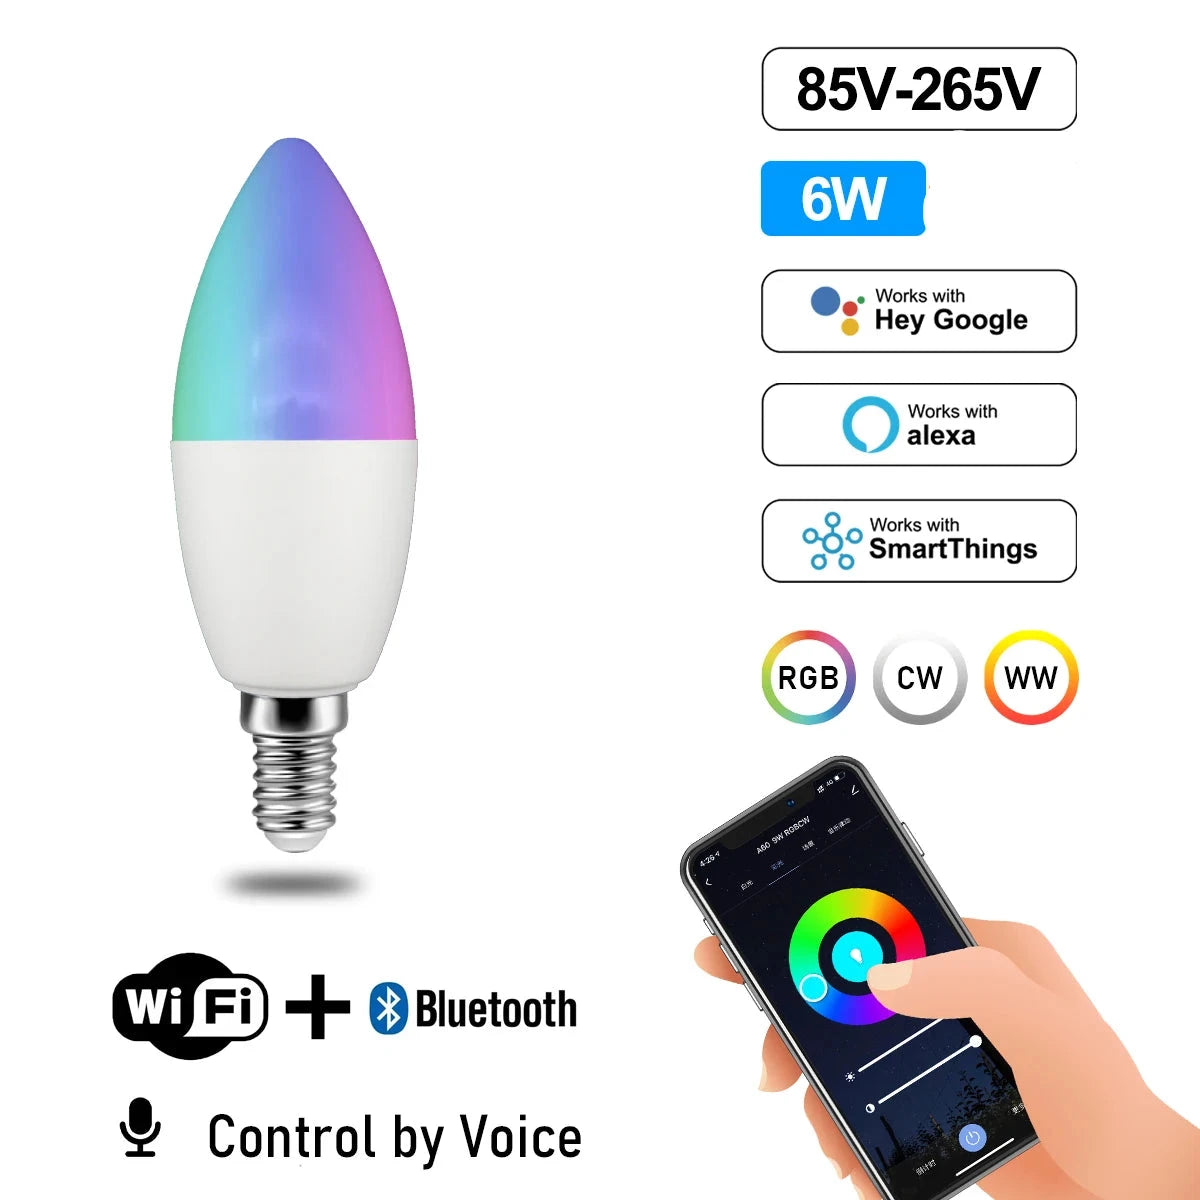
Enhance your home lighting experience with the Smart Wifi LED lights bulb.
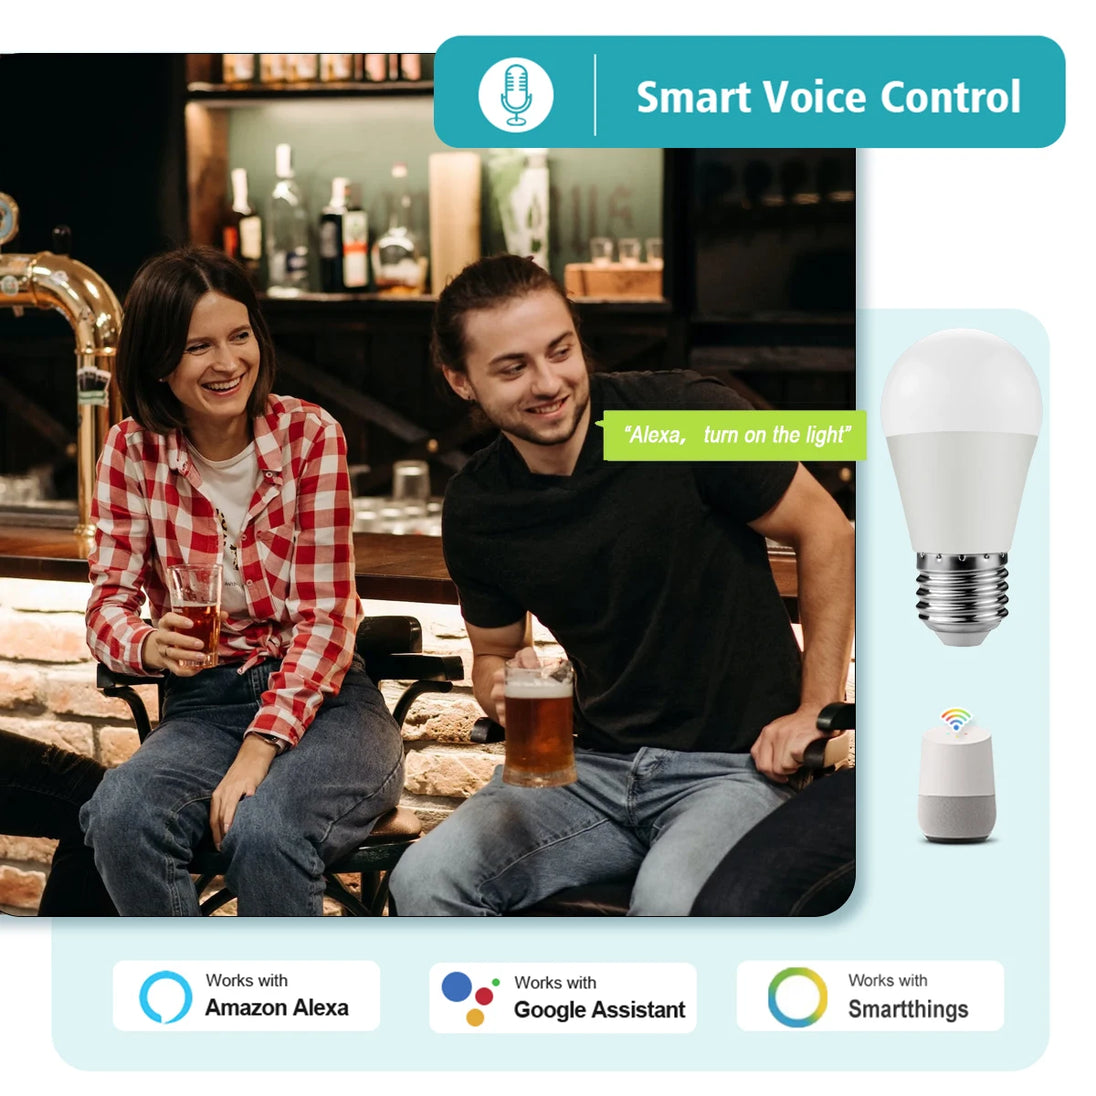
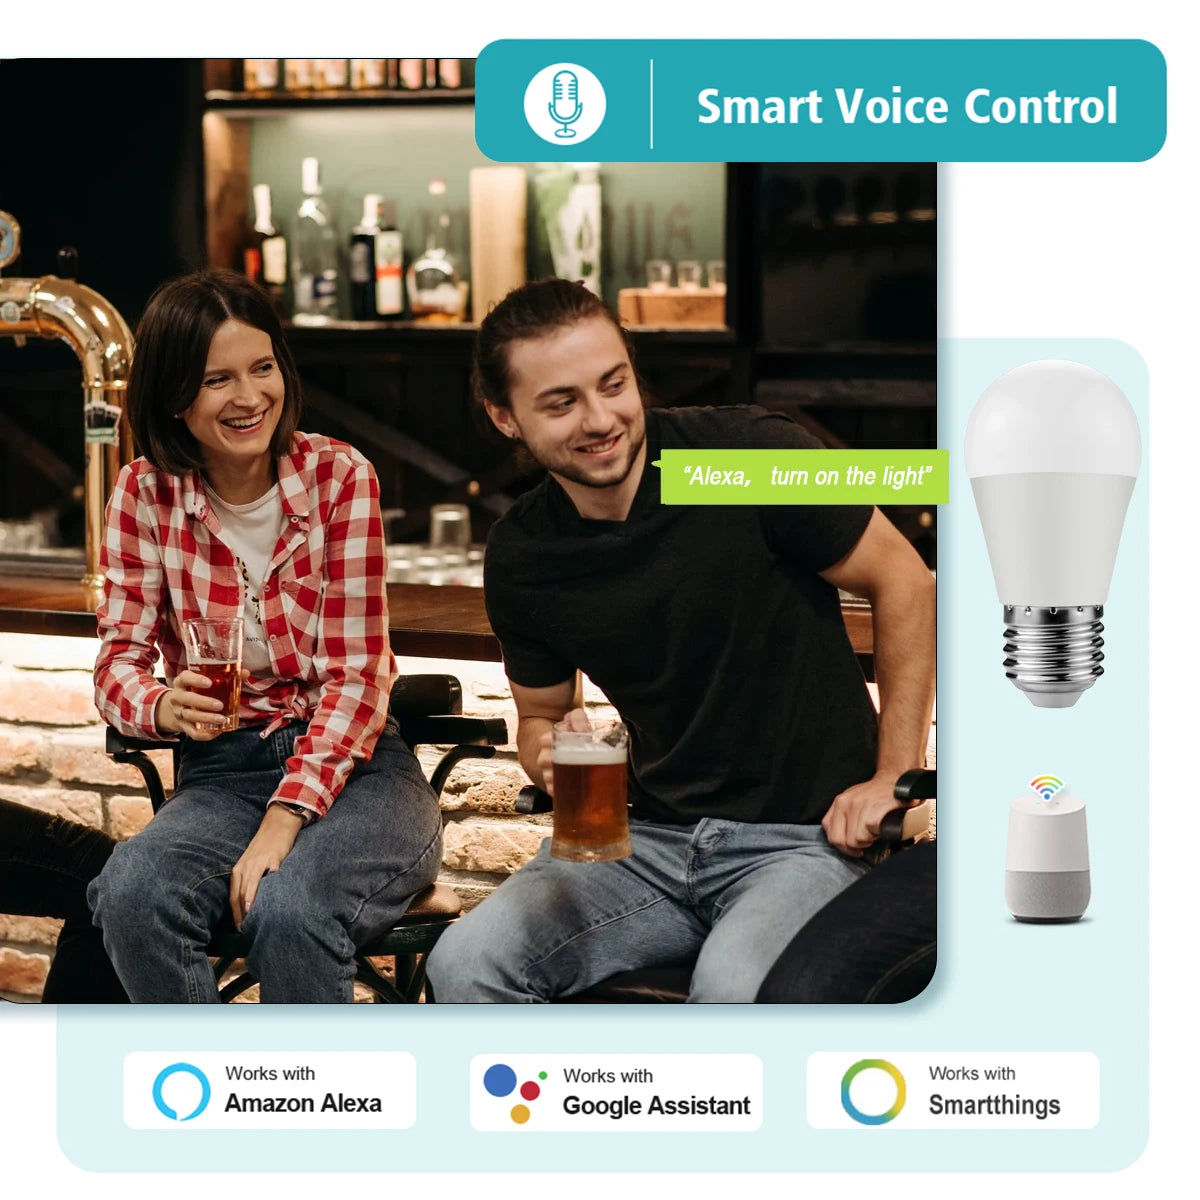
Control with ease using the Life APP, and integrate with Alice, Google Home, or Alexa for seamless voice control.
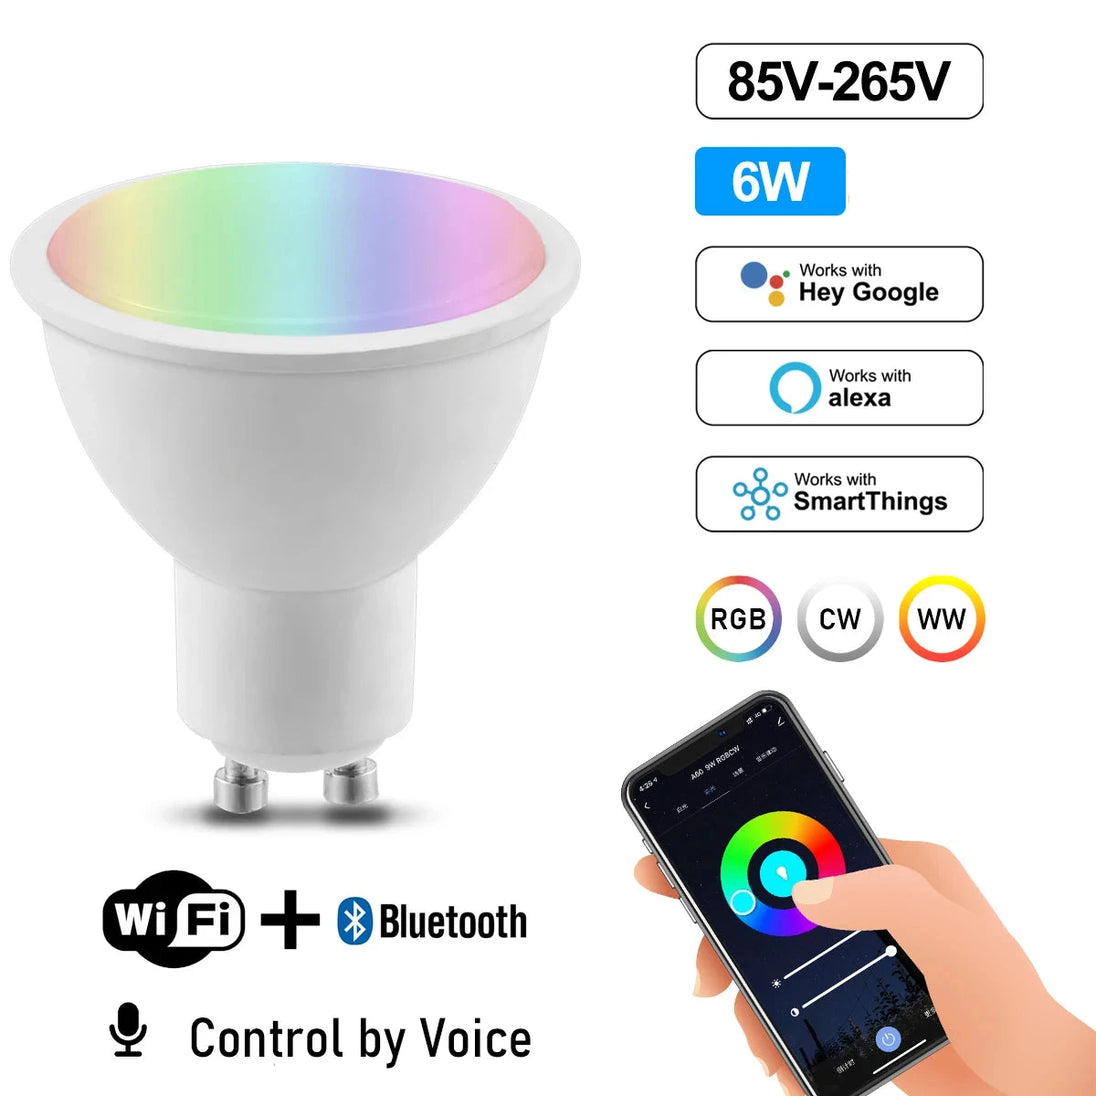
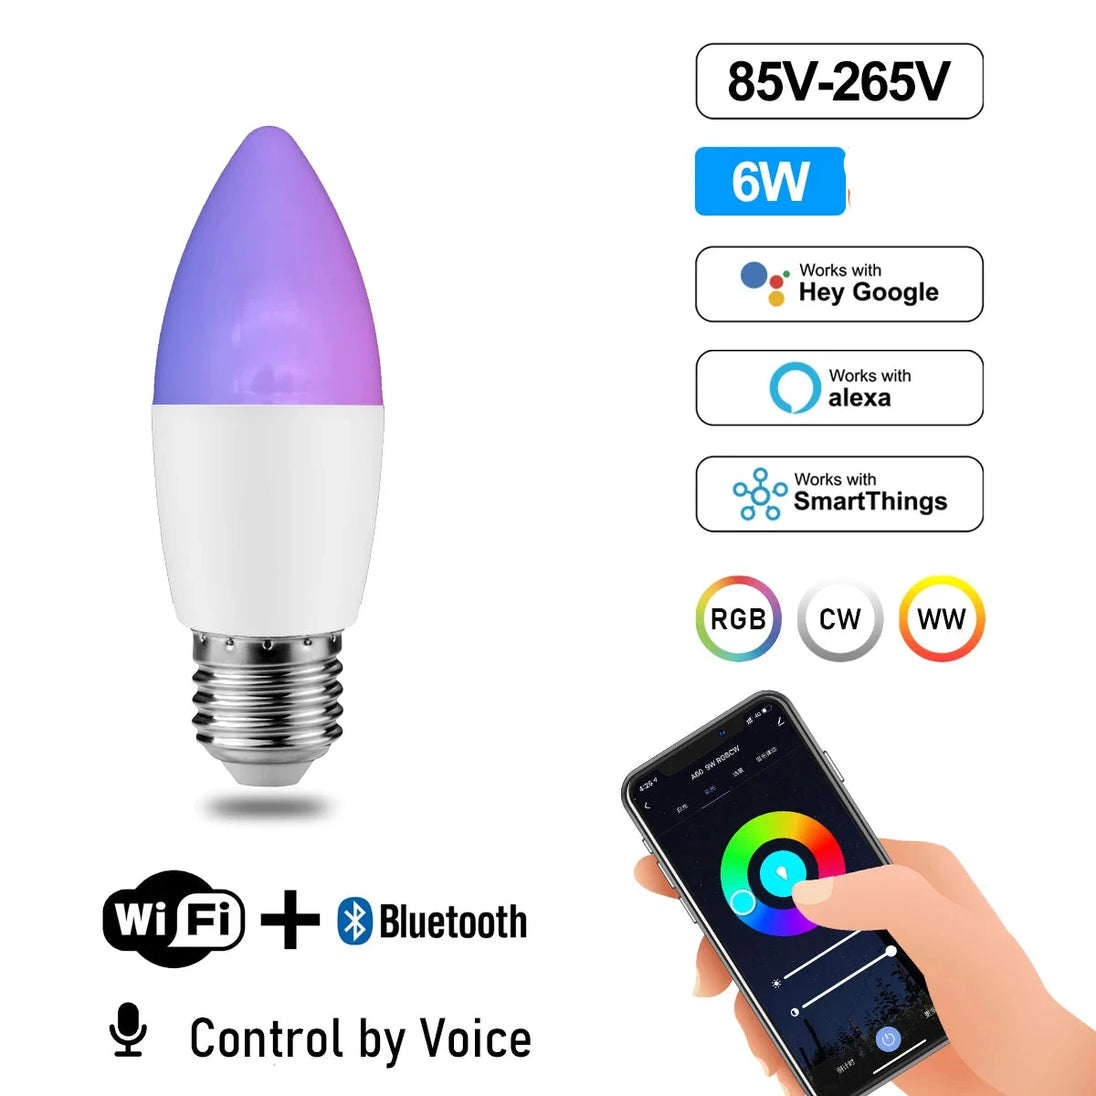
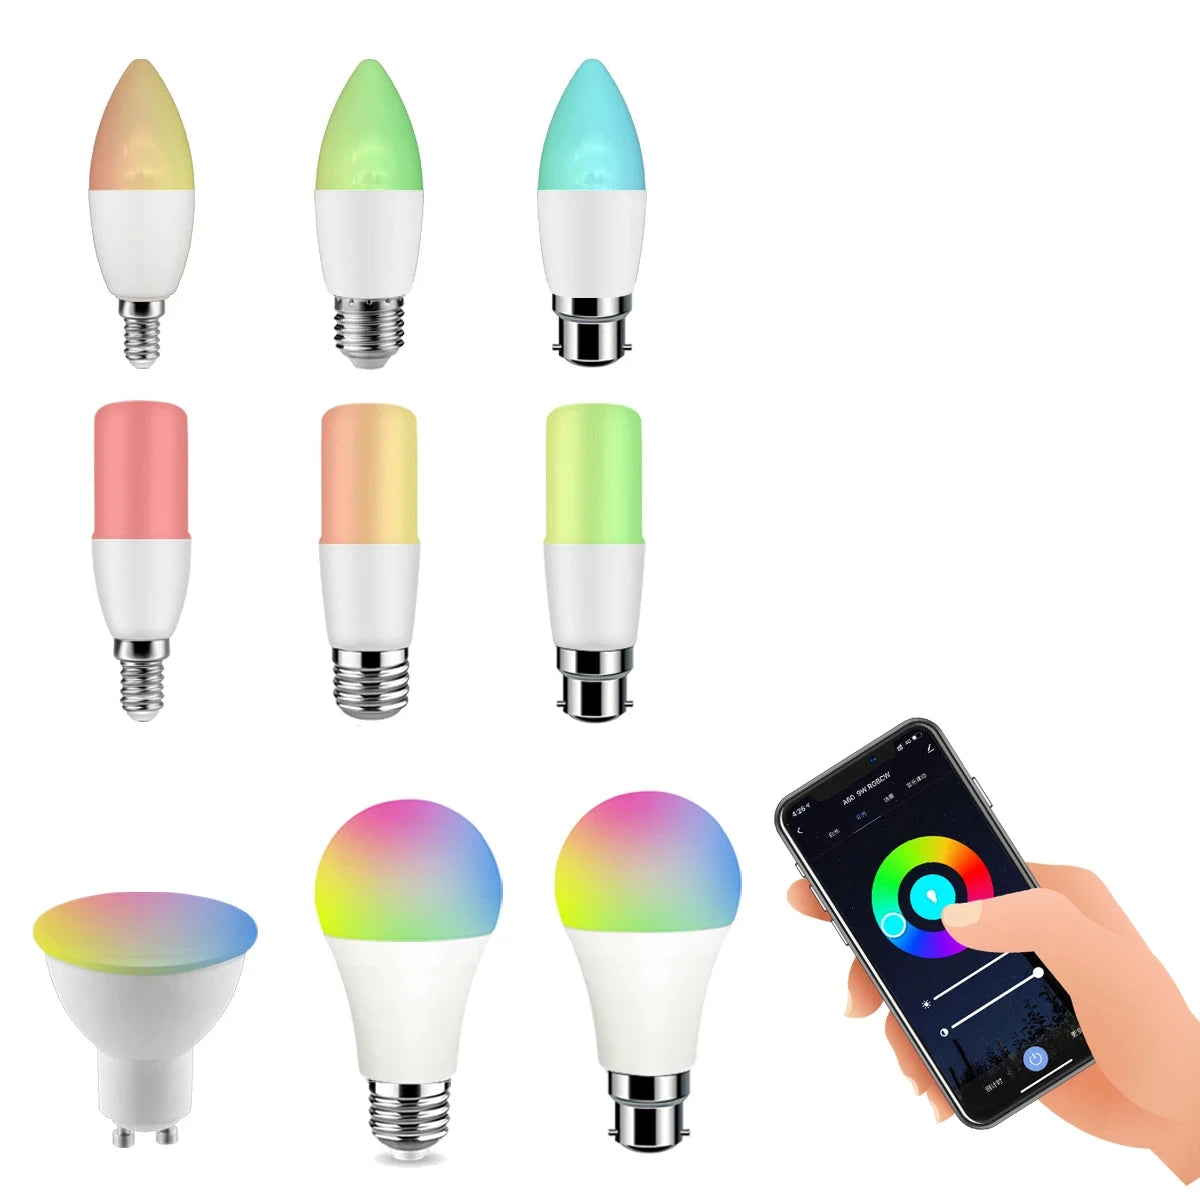
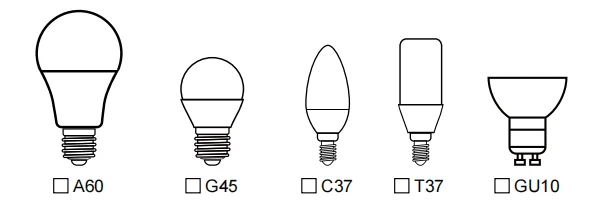
Compatible with GU10, E27, and E14 sockets, this bulb is a versatile and convenient addition to any smart home.
Certification: RoHS
Area: 8-10㎡
Is Smart Device: YES
Base Type: e27
Power Tolerance: 5%
Color Temperature: 2700K~6500K
Model Number: A60/GU10/C37
Voltage: 85-265V
Item Type: LED bulbs
Warranty: 3years
Voltage: 85-265V 50/60HZ
Connection method: 2.4G WIFI
Base: E27 B22
Watts: 6W/10W
Color: RGB+CW
Lumen: 800LM
Product weight: 50g
Operating temperature: -20 to+55 °C
Way to control: App/Alexa/GoogleAssistant
Choice: yes
semi_Choice: yes
Instruction
Wi-Fi LED Bulb
Step 1: Preparing for Use
-
Power on the bulb and ensure your phone is connected to a 2.4 GHz Wi-Fi network.
-
Download and open the app:
- Search for "Smart Life" or "TUYA" in the App Store, or scan the QR code on the package/manual to download and install the app.
- For first-time users, click "Register" to create an account. If you already have an account, select "Login."
Step 2: Configuring the Device Network
-
Open the "Devices" page in the Smart Life app and tap the "+" icon in the upper right corner.
-
Select "Lighting" from the device list.
-
Choose a configuration mode: EZ Mode or AP Mode
-
EZ Mode:
- Ensure the bulb is rapidly flashing (twice per second) or "breathing" to indicate it's ready for setup.
- To enable this mode, turn the lamp on and off five times, ending with it turned on, until it begins flashing quickly or "breathing." Then tap "Confirm Light Blinks Rapidly" to begin configuration.
-
AP Mode:
- Tap "AP Mode" in the upper right corner.
- After the indicator light begins flashing slowly, tap the confirmation button to connect to a 2.4 GHz network. Then, tap "Connect Now" to join the device’s hotspot, "SmartLife -XXXX."
-
Step 3: Network Access Settings
-
Enter your Wi-Fi password (ensure it’s a 2.4 GHz network, as 5 GHz networks are not supported).
-
Check the "Devices" page to confirm that the bulb has been successfully added.
Step 4: Controlling the Device
-
Access the light control page:
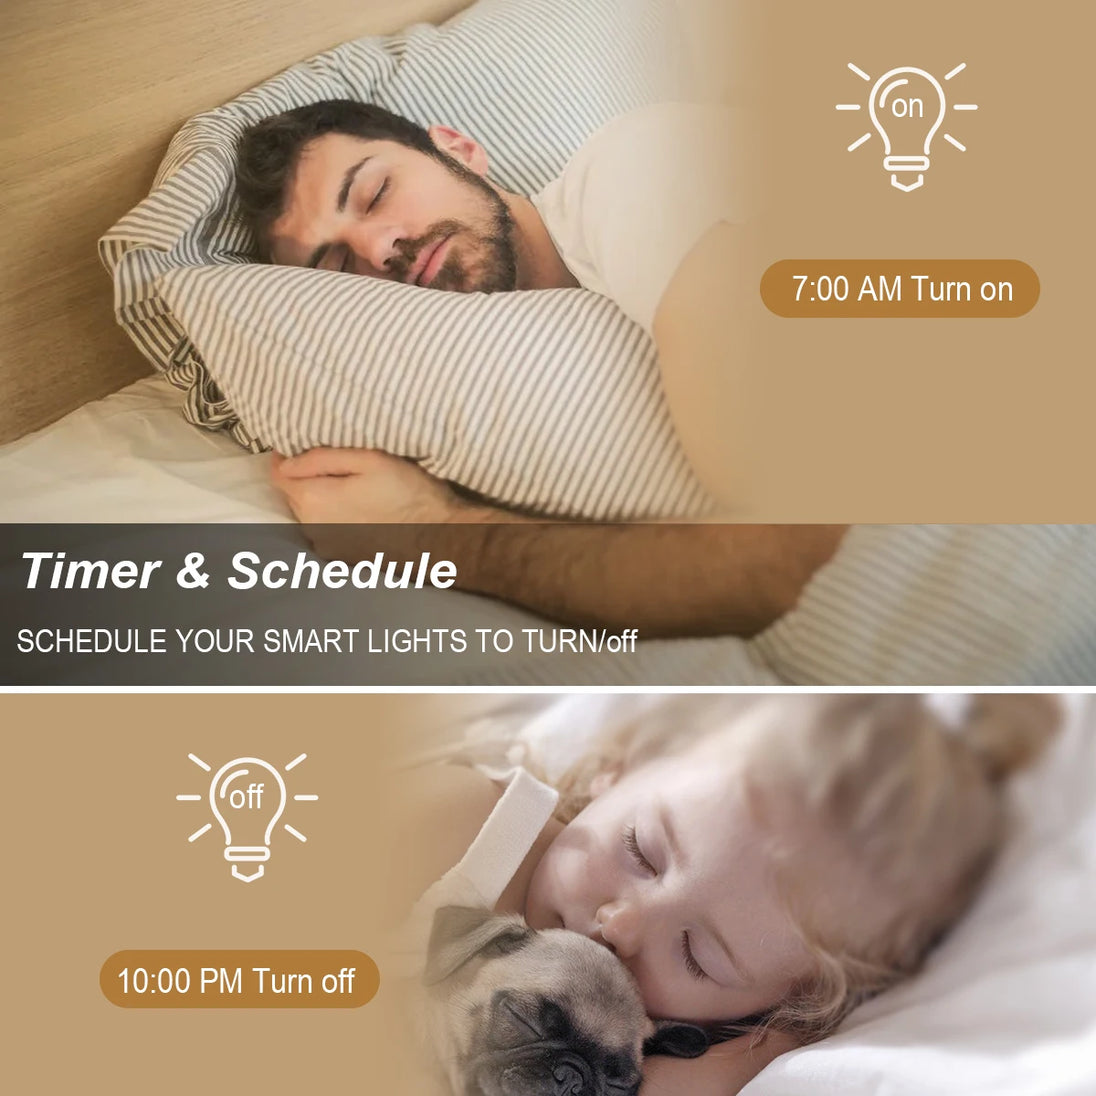
- When the light is off, only the "Schedule" function will be available. Once the light is on, the full control menu will appear.
-
Adjust the Color and Brightness:
- Tap "Color" to manually adjust the brightness and color temperature.
-
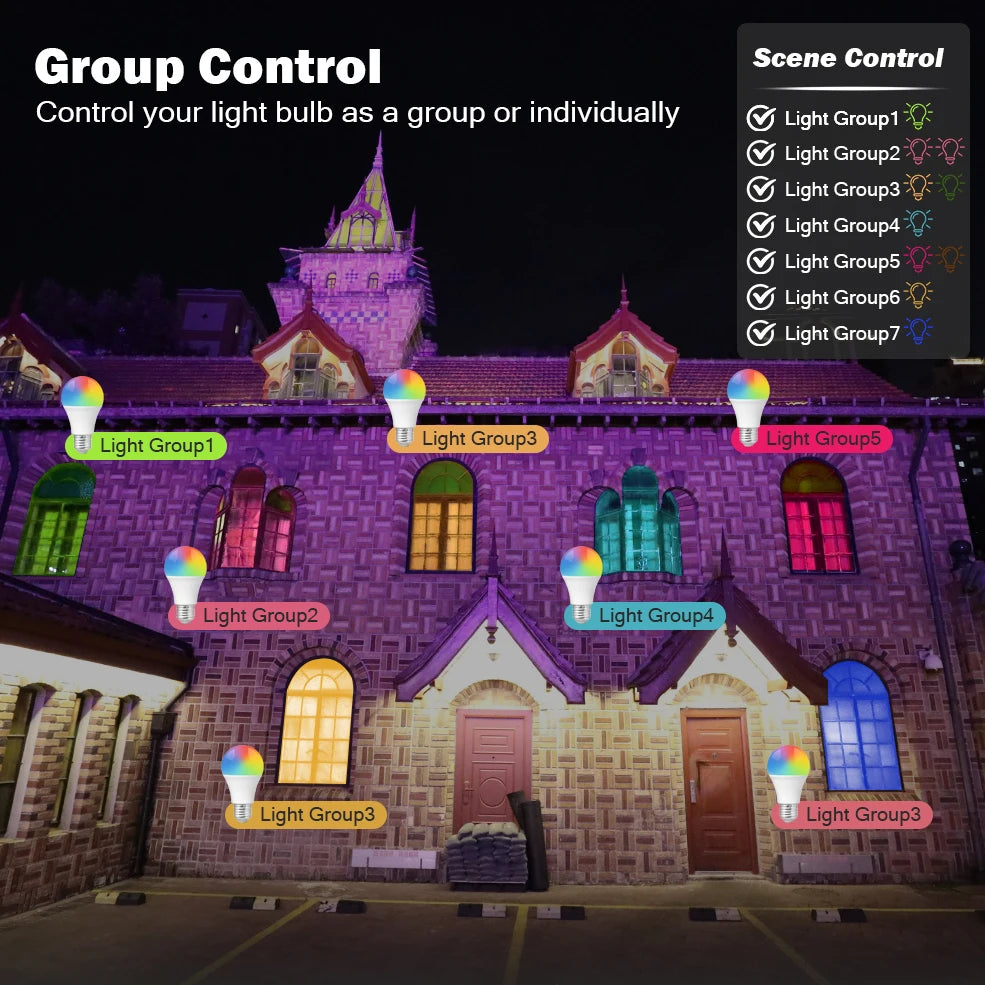
Select a Scene:
- Tap "Scene" to choose different lighting modes suited to various settings.


